
A granite countertop brings elegance, durability, and timeless appeal to any kitchen or bathroom.
A granite countertop brings elegance, durability, and timeless appeal to any kitchen or bathroom. However, to ensure your investment remains beautiful and functional for years, it’s essential to seal the surface properly. One of the most common questions homeowners ask is: When is the right time to seal a granite countertop during the installation process?
Sealing at the correct stage of installation is crucial for long-term protection and optimal performance. This article explores the ideal timing, sealing methods, and maintenance tips to ensure your granite slab resists stains, bacteria, and surface wear.

Why Granite Countertops Need Sealing
Granite is a natural stone with microscopic pores that can absorb liquids, oils, and food stains if not sealed. Sealing fills those pores, creating a barrier against moisture, grease, and everyday spills.
Key Benefits of Sealing:
- Prevents permanent staining
- Reduces bacterial growth in the stone
- Maintains rich granite countertop colors
- Minimizes the need for granite countertop repair
- Extends countertop life with easy granite countertop maintenance
👉 Why Is Sealing Important After Installing a Granite Countertop?
At What Point Should Granite Be Sealed During Installation?
Timing is key. Ideally, granite should be sealed after installation is complete but before the countertop is used. Here’s a breakdown of the sealing timeline:
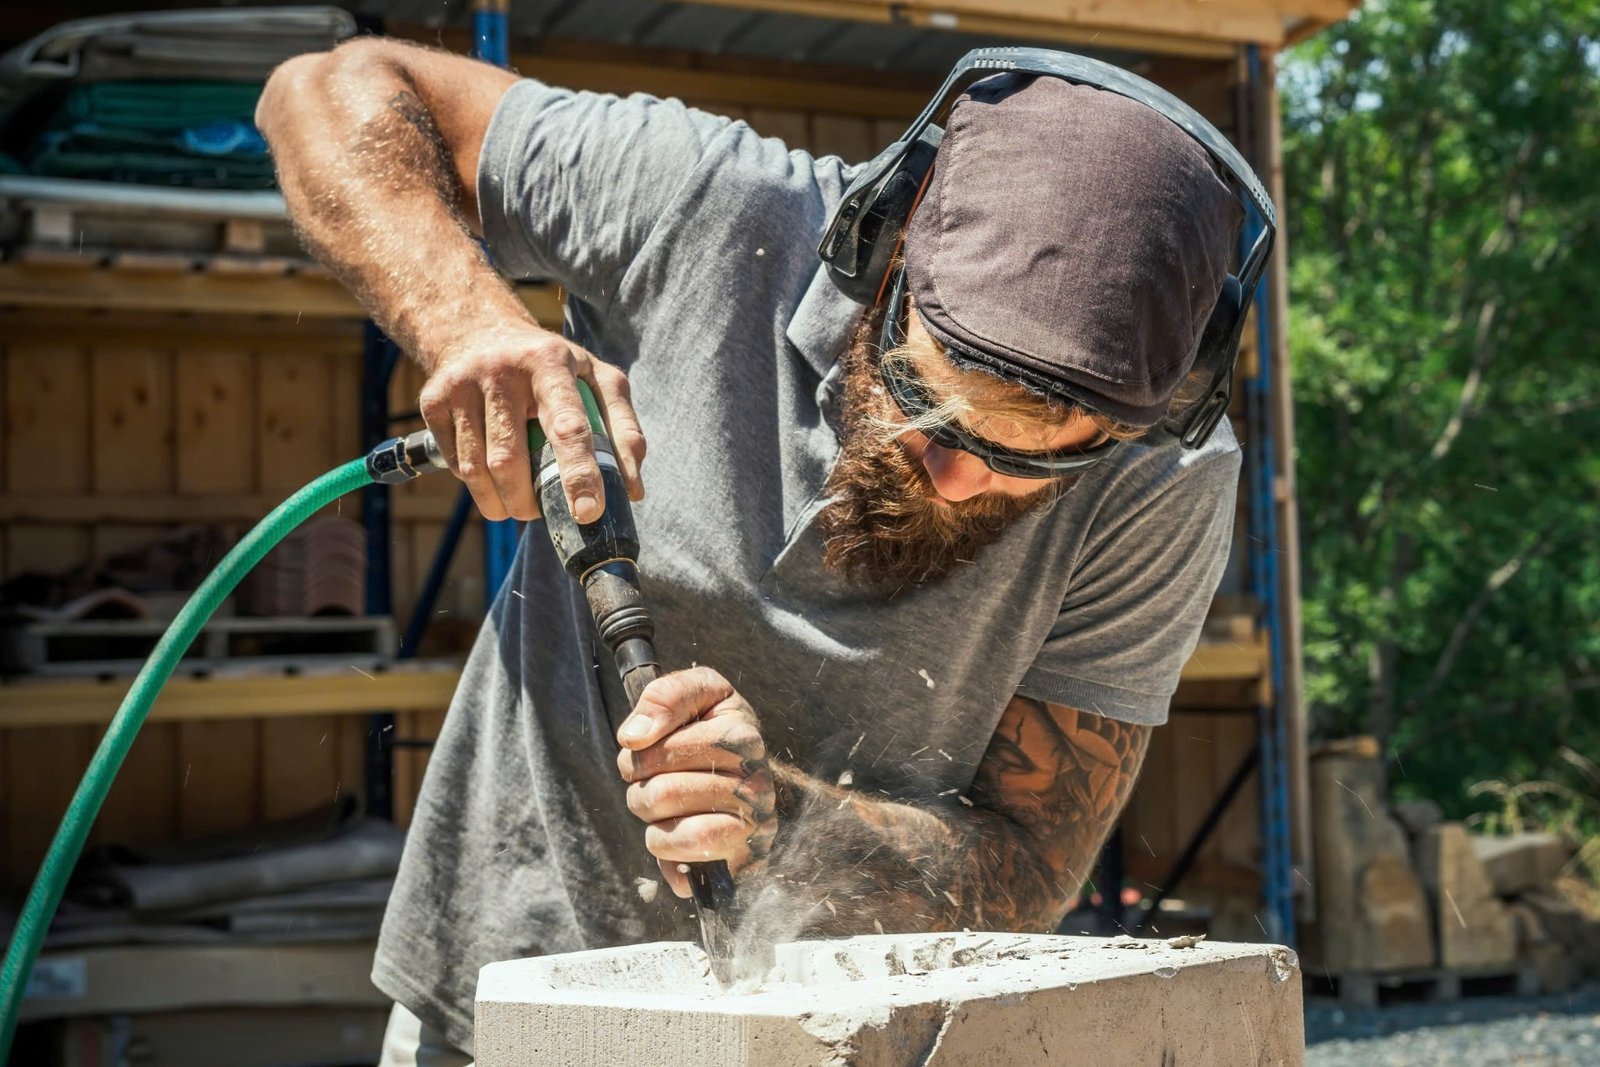
1. After Fabrication, Before Delivery (Optional Pre-Sealing)
Some stone fabricators apply an initial seal at the shop before shipping the slab. This “pre-seal” protects the stone during transport and reduces dust or residue from bonding to the surface.
2. After Installation but Before Use (Recommended Step)
This is the most critical sealing point. Once the granite countertop has been installed and the adhesive has cured (usually within 24 hours), the surface should be cleaned and sealed.
Why this timing works best:
- Prevents contaminants from being absorbed
- Ensures all seams, corners, and cutouts are sealed
- Enhances final surface appearance
What Happens If You Seal Too Early or Too Late?
Sealing Too Early:
- Sealer may trap moisture from the adhesive
- May interfere with countertop installation adhesives or caulk
- Uneven absorption leads to blotchy appearance
Sealing Too Late:
- Stone may already absorb stains or water
- May require deep cleaning or granite countertop repair
- Can lead to permanent etching or discoloration
Proper timing ensures the sealer penetrates effectively without being blocked by residual moisture or contamination.
How to Know When Granite Is Ready for Sealing
Checklist:
- Countertop is fully installed
- All seams and cutouts are completed
- Adhesive or epoxy has cured for at least 24 hours
- Surface has been cleaned and dried completely
- No moisture or dust is present
Pro Tip: Perform a water drop test. Drop water on the surface—if it darkens or absorbs, the granite needs sealing.
Best Practices for Sealing During Installation
Step-by-Step Sealing Guide:
- Clean the Surface Thoroughly
Use a pH-neutral stone cleaner to remove dust, oil, and adhesive residue. - Dry the Surface Completely
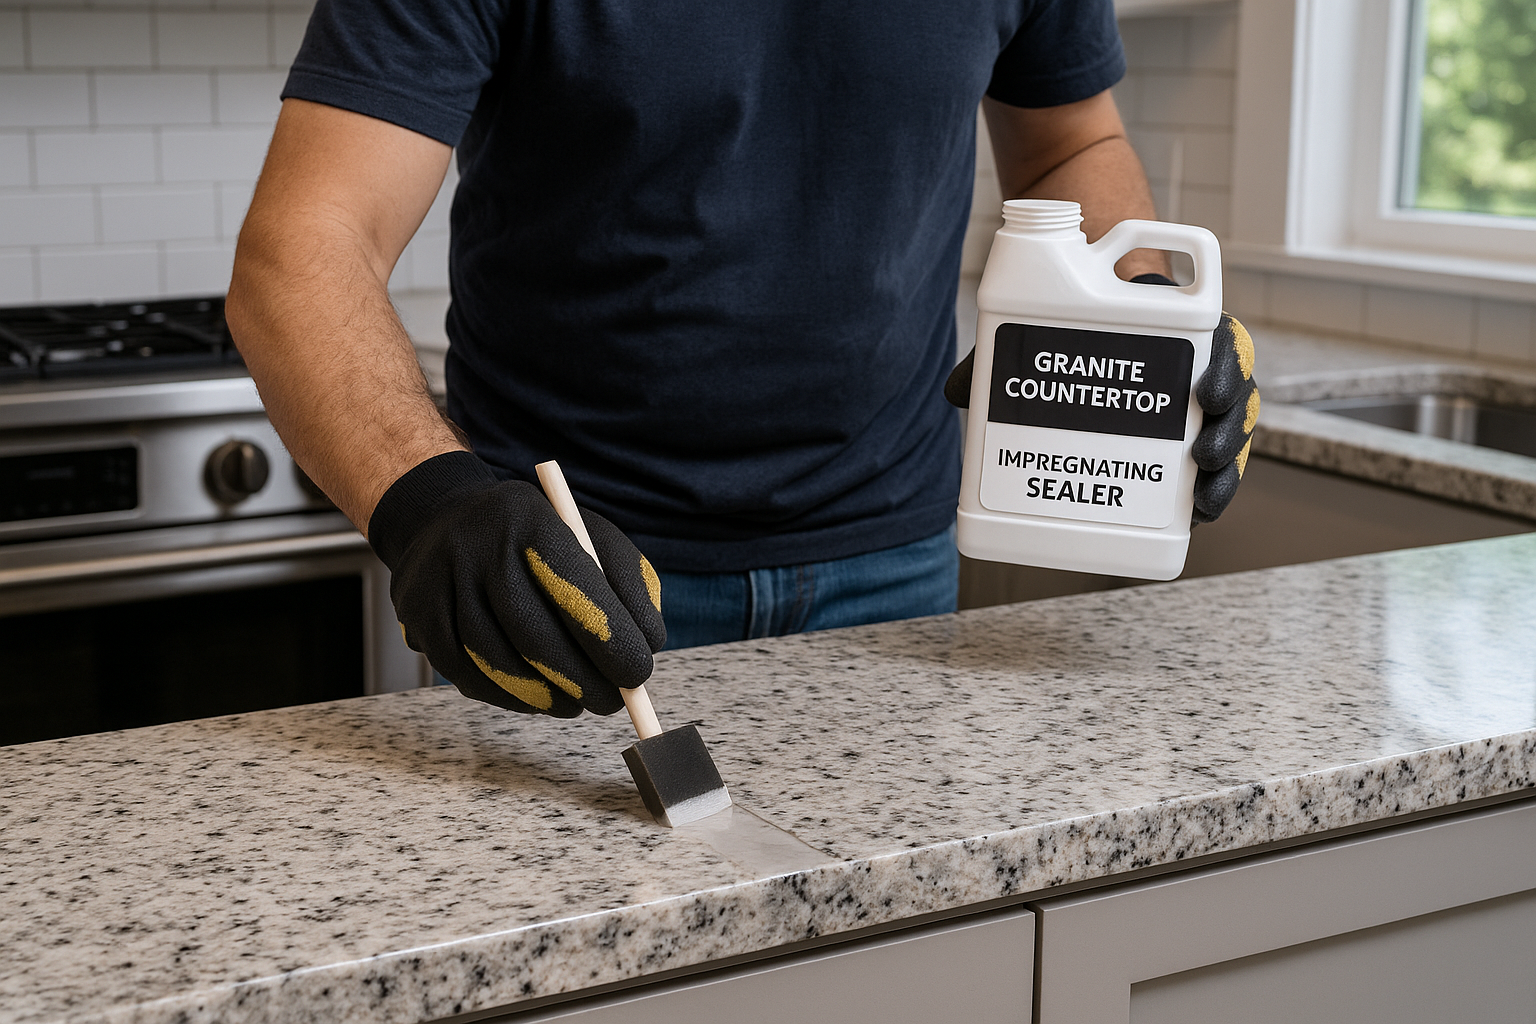
Allow the surface to dry for 12–24 hours before sealing. - Apply the Sealer Evenly
Use a foam brush, soft cloth, or sprayer. Follow the product’s specific instructions. - Let the Sealer Soak In
Allow 15–30 minutes of dwell time for full penetration. - Wipe Off Excess
Buff the surface gently with a dry cloth to remove leftover product. - Cure the Surface
Let the surface cure for 24 hours before use, especially around sinks and stoves.
How to Choose the Right Sealant
Not all granite requires the same type of sealer. Factors like granite color, porosity, and finish type influence the best choice.
Sealant Types:
- Penetrating Sealer: Long-lasting protection, doesn’t alter appearance
- Enhancing Sealer: Deepens color and highlights veining
- Topical Sealer: Forms a surface layer, but not ideal for high-traffic kitchens
👉 What Type of Sealant Is Best for a Granite Countertop Installation?
How Sealing Affects Long-Term Granite Maintenance
Proper sealing not only protects your countertop but also makes daily granite countertop cleaning easier. Spills won’t soak into the surface, and food residues can be wiped off without scrubbing.
Maintenance Schedule:
- Light granite colors: Seal every 1–2 years
- Darker granite: Seal every 3–5 years
- Reapply sealer after deep cleaning or chemical exposure
Regular resealing prevents dulling, staining, and unnecessary granite countertop prices due to premature replacement or restoration.
Sealing Tips Based on Granite Color
| Granite Color | Sealing Frequency | Sealant Type Recommendation |
|---|---|---|
| White or Cream | Every 1–2 years | High-performance penetrating sealer |
| Black or Dark Gray | Every 3–5 years | Enhancing or light sealant |
| Multi-color/Exotic | Every 2–3 years | Enhancing sealer for vibrancy |
Sealing also enhances granite countertop design, bringing out natural textures and patterns while maintaining a polished finish.
Final Thoughts: Seal for Strength, Shine, and Longevity
Properly sealing your granite countertop at the right point during installation is essential for preserving beauty, functionality, and hygiene. It’s a small step that prevents big problems—protecting your surface from daily damage while enhancing its natural luster.
Whether your style leans modern, traditional, or farmhouse, a sealed granite surface becomes the centerpiece of your kitchen countertop experience.