

Among the many decisions to make—flooring, cabinetry, lighting—one of the most impactful is selecting and placing your granite countertop.
Home renovations are exciting but complex projects that involve timing, coordination, and precision. Among the many decisions to make—flooring, cabinetry, lighting—one of the most impactful is selecting and placing your granite countertop. Known for its elegance, strength, and timeless appeal, granite is a high-end feature that elevates any renovation. But to ensure a smooth process and prevent costly delays or rework, it’s crucial to know when the best time is to install it during your remodel.
In this article, we’ll break down the ideal stage to schedule your granite countertop installation, explain why timing matters, and outline the steps that ensure a flawless fit in both kitchens and bathrooms. You’ll also discover how proper planning can save money, protect your investment, and deliver the aesthetic results you envision.
Why Choose Granite Countertops During a Renovation?
Granite is one of the most popular premium surfaces thanks to its long-term durability, natural beauty, and low maintenance. Whether it’s a kitchen countertop, bathroom vanity, or entertainment island, granite makes a strong statement while providing unmatched practicality.
Key Benefits:
- Resistant to heat, scratches, and stains
- Available in a wide range of granite countertop colors
- Increases property value
- Long lifespan with minimal granite countertop maintenance
👉 Why Is a Granite Countertop Considered Cost-Effective Over Time?
The Best Time to Install Granite in a Renovation Project
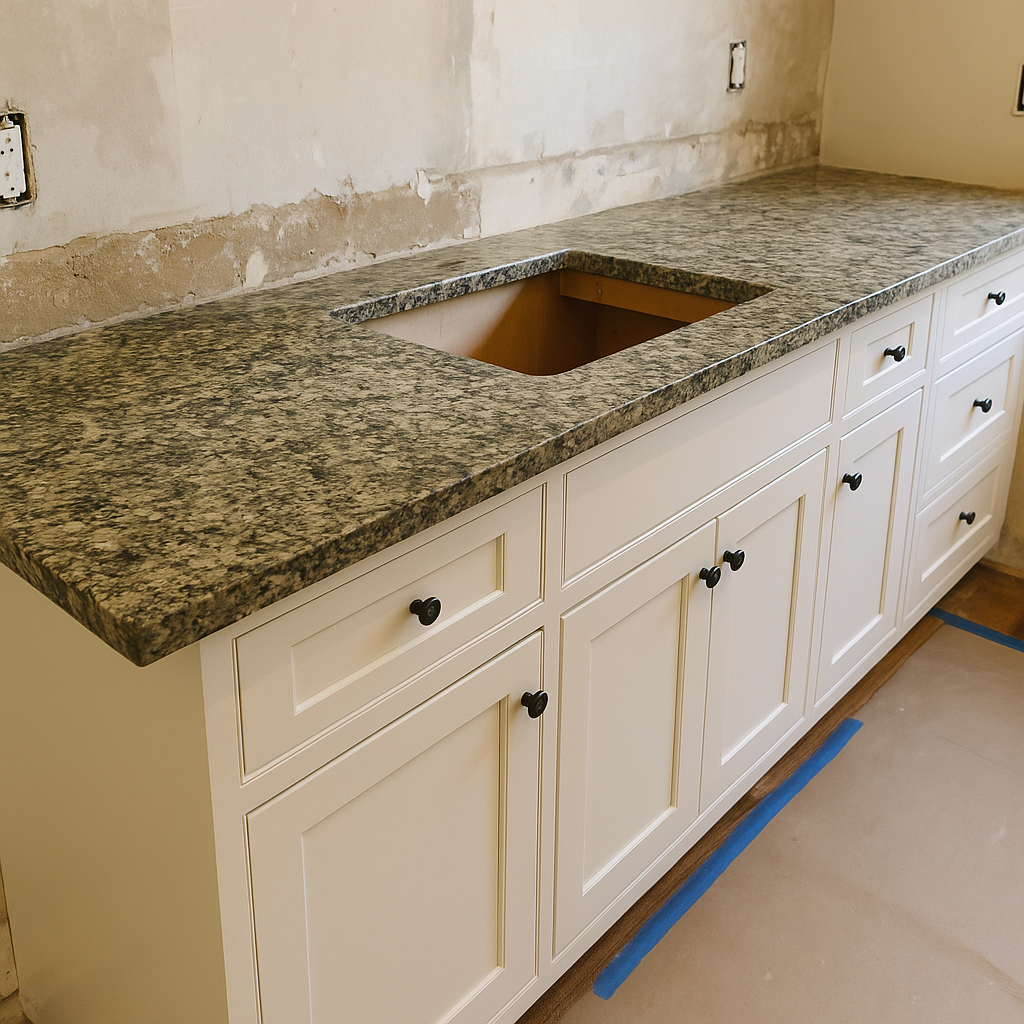
✅ Ideal Stage: After Cabinet Installation, Before Backsplash and Plumbing Fixtures
Installing granite too early can lead to damage or misalignment. Too late, and it may cause delays in tiling, plumbing, or appliance fitting. The optimal time is after base cabinets are secured and any framing work is complete but before the backsplash, faucets, and cooktops are installed.
Step-by-Step Granite Installation Timeline in a Renovation
To help you visualize where granite fits into your remodel, here’s a common renovation timeline:
1. Demolition & Structural Changes
Remove old surfaces, update walls, and complete any framing or layout modifications.
2. Plumbing & Electrical Rough-In
Install wiring and pipes behind walls before closing them off.
3. Flooring Installation
Complete any hardwood, tile, or vinyl flooring that runs beneath cabinetry or appliances.
4. Cabinetry Installation
Cabinets must be completely installed and leveled before templating can begin. They serve as the foundation for your granite slab.
5. Granite Templating
After cabinets are in place, your installer will create a physical or digital template for your granite countertop. This ensures a perfect fit for sinks, cooktops, and edge profiles.
6. Fabrication
The slab is cut and shaped based on the template. This step typically takes 5–10 days.
7. Granite Countertop Installation
Once fabrication is complete, the granite is delivered and installed. This usually takes a few hours but must be done with care to avoid breakage or misalignment.
8. Appliance, Sink & Faucet Installation
After granite is secured, you can install your undermount sink, faucet, and cooktop. Cutouts in the slab are pre-measured and pre-fabricated.
9. Backsplash & Final Touches
Now that the countertop is in place, you can complete the backsplash, paint touch-ups, or add under-cabinet lighting.
Why Timing Matters for Granite Installation
Installing a granite countertop at the right time ensures:
- Structural Support: Granite requires solid, level cabinetry to support its weight.
- Accurate Cutouts: Sink and fixture openings must match your final cabinet layout.
- Avoiding Damage: Prevent chips or cracks from ongoing heavy work or dropped tools.
- Smoother Scheduling: Avoid delays in tiling, plumbing, and finishing touches.
In villas and luxury homes, coordinated execution also maximizes visual impact.
👉 Where in Villa Should You Install a Granite Countertop?
Mistakes to Avoid in Granite Countertop Installation Timing
❌ Installing Before Cabinets Are Finalized
Granite relies on cabinet positioning—changing even ¼ inch can cause fit issues.
❌ Scheduling Without Templating
Skipping the templating step leads to cutouts being off or misaligned.
❌ Rushing Before Flooring Is Done
Heavy granite may scratch or damage unfinished flooring beneath.
❌ Delaying After Fixtures Are Set
If faucets or cooktops are installed first, they may block slab placement or lead to costly do-overs.
Granite Countertop Maintenance Tips Post-Installation
Once your granite is installed, simple steps keep it looking pristine:
- Seal annually to maintain stain resistance
- Clean with pH-neutral solutions (avoid vinegar or bleach)
- Use cutting boards and trivets for added protection
- Wipe spills immediately—especially wine, oil, or acidic juices
Proper care protects your investment and preserves the elegance of your granite countertop design.
Granite Installation Cost Considerations
Planning ahead helps prevent cost overruns. Below is a typical range:
| Task | Estimated Cost (USD) |
|---|---|
| Granite Material (per sq. ft.) | $40–$250+ |
| Templating & Fabrication | $300–$600 |
| Installation Labor | $200–$400 |
| Undermount Sink Cutout | $100–$200 |
Delays in installation due to poor timing can add 10–15% to your overall granite countertop prices, especially if rework is required.
Final Thoughts: Timing Is Key to a Flawless Granite Countertop Installation
Granite adds a luxurious, high-performance surface to any home renovation, but when you install it during your project makes all the difference. Aim to schedule your granite countertop installation after cabinetry is in place and before fixtures are added, and you’ll avoid costly mistakes, ensure precision, and enjoy a smooth project finish.