

A successful countertop installation requires more than just choosing a beautiful slab—it involves careful preparation, precise execution, and smart follow-up.
Installing new countertops is one of the most effective ways to transform the look and functionality of your kitchen or bathroom. Whether you’re planning a full renovation or simply replacing outdated surfaces, a well-executed countertop installation can boost your home’s aesthetic appeal and increase its market value.
However, installing countertops isn’t as simple as just dropping in a slab. It requires thoughtful planning, material knowledge, technical skill, and attention to detail. In this guide, we’ll cover everything you need to know during a countertop installation—what to watch out for, how to prepare, and how to ensure lasting quality. Whether you’re opting for a sleek quartz finish or a timeless granite surface, the insights below will guide you toward a successful project.

Why Countertop Installation Matters
A properly executed countertop installation does more than upgrade your space—it ensures long-term performance and reduces the risk of issues like water damage, cracking, or misalignment. Especially in high-traffic areas like kitchens, countertops take a daily beating. Getting the installation right the first time is crucial.
Whether you’re doing a complete remodel or a simple countertop replacement, your choice of material, installer, and preparation strategy will significantly influence the outcome.
Types of Countertops: Choosing the Right Material
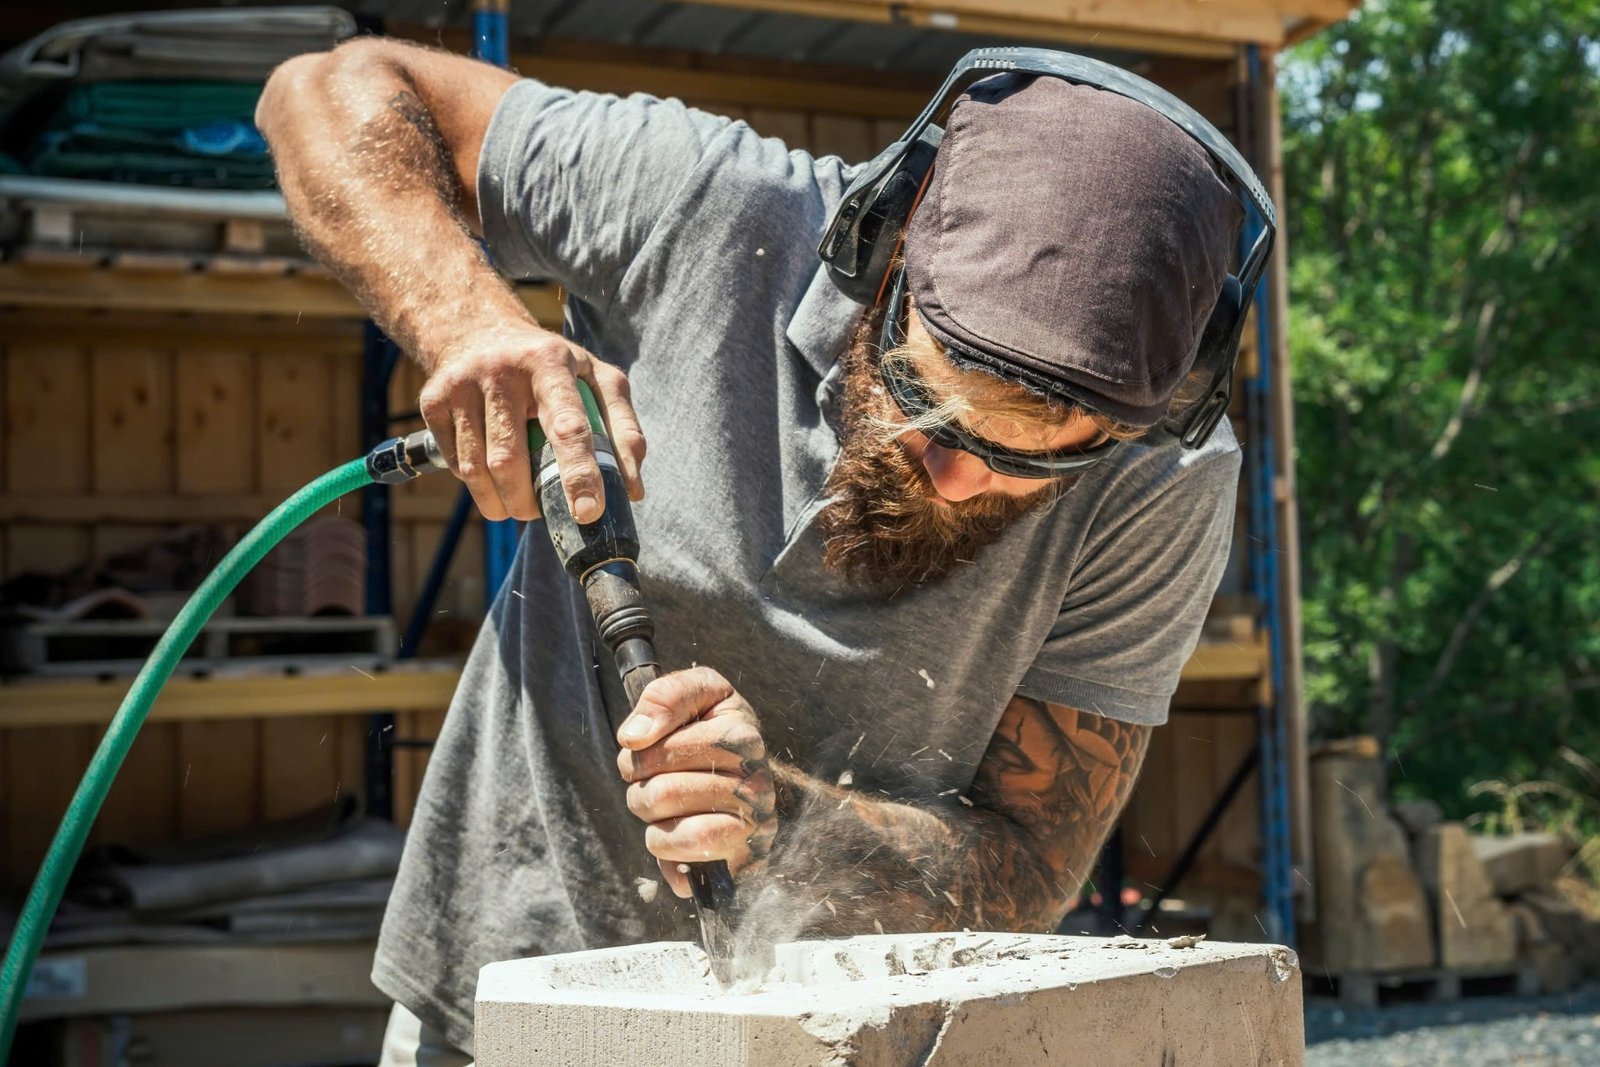
Granite Countertop Installation
Granite is a natural stone known for its beauty and durability. It’s resistant to heat and scratches, making it a top choice for kitchens. However, granite countertop installation requires professional tools and skills due to the material’s weight and cutting needs.
Key things to note:
- Requires sealing to protect from stains
- Needs sturdy cabinet support
- Seams may be visible if not properly aligned
Quartz Countertop Installation
Engineered quartz offers consistent patterns, color options, and high resistance to stains and bacteria. Because it’s non-porous, quartz countertop installation doesn’t require sealing.
What to consider:
- Uniform look makes seam placement easier
- Heavier than granite—ensure adequate structural support
- Sensitive to extreme heat; use trivets or pads
Both materials can be stunning when done right. The key is to align the countertop type with your functional needs and design goals.
Pre-Installation Checklist
Before installation begins, a few steps are essential to ensure smooth execution.
1. Accurate Measurements
One of the most critical aspects of kitchen countertop installation is precision.
- Double-check the length, width, and depth of your base cabinets
- Account for backsplashes, sink cutouts, and edge profiles
- Use templates to prevent errors during fabrication
2. Cabinet and Substrate Prep
For both new countertop installations and countertop replacement, your base cabinets must be level and secure. Uneven cabinets can lead to cracks or gaps over time.
- Verify cabinet sturdiness
- Use a level to check flatness
- Reinforce weak or old cabinetry
3. Plumbing and Appliance Readiness
Disconnect plumbing, appliances, and electrical connections before installation. This avoids damage and gives your installer full access to the work area.
What to Note During the Installation Process
Now that your space is prepped and your countertop is fabricated, it’s time for installation. This stage involves both technical skills and attention to detail.
1. Dry Fitting and Placement
Before adhesives are applied, your countertop should be “dry-fitted” to confirm sizing.
- Check for accurate wall alignment
- Ensure cutouts for sinks and faucets are correctly placed
- Review overhang consistency on all sides
2. Seaming and Joining
Larger countertops or L-shaped kitchens often require multiple pieces.
- Seams should be tightly aligned
- Professional installers use color-matched epoxy for invisible joints
- Proper clamping during drying ensures durability
3. Adhesive Application
Countertops are typically bonded to cabinets using silicone or construction adhesive.
- Use waterproof adhesives in areas near sinks
- Clean off excess immediately to prevent staining or bulging
- Allow ample drying time per manufacturer instructions
4. Sink and Faucet Installation
For undermount sinks, the bowl must be attached before setting the countertop.
- Apply waterproof sealant to avoid leaks
- Drill faucet holes carefully to prevent cracking
- Confirm plumbing fits with new countertop thickness
After the Installation: Cleanup and Maintenance
Once your countertop is installed, it’s important to clean up debris, inspect the work, and start a regular maintenance routine. Post-installation care ensures your surface remains beautiful and functional for years to come.
Learn more about proper cleaning and its importance in this resource: countertop installation
Alternatives to Full Replacement
If your existing surface is structurally sound, you may not need a complete countertop replacement. There are two popular alternatives:
Countertop Repair
Ideal for fixing minor cracks, chips, or scratches without full replacement.
- Use epoxy or stone repair kits
- Color-matching kits available for granite and quartz
- Best for localized damage
Countertop Resurfacing
This involves applying a new surface layer over your current countertop.
- Cost-effective option
- Available in materials like laminate, concrete coatings, and acrylics
- Fast turnaround, often in just a day
Both options offer temporary solutions for budget-conscious homeowners or those prepping a home for sale.
Understanding Countertop Installation Costs
A major consideration in any renovation is budget. The countertop installation cost depends on multiple variables:
| Factor | Estimated Cost Range |
|---|---|
| Material (Quartz, Granite, etc.) | $50–$200 per square foot |
| Labor | $30–$100 per hour |
| Sink Cutouts | $100–$300 each |
| Old Countertop Removal | $150–$400 |
| Edge Profiles & Custom Features | $20–$50 per linear foot |
To get the best value, search for countertop installation near me and compare quotes from local contractors.
DIY vs Professional Installation
While some homeowners opt for DIY, professional installation is often worth the investment—especially for heavy, expensive materials like granite or quartz.
DIY Kitchen Countertop Fitting
Pros:
- Lower cost
- Flexible scheduling
Cons:
- Risk of measurement errors
- Improper sealing or bonding
- Lack of tools and experience
Hiring a Professional
Benefits:
- Proper equipment and expertise
- Faster turnaround
- Warranty on workmanship
To find the right installer, search for “kitchen countertop fitting near me,” read reviews, and ask for a portfolio of granite countertops installed and similar projects.
Common Mistakes to Avoid
Avoid these common pitfalls during installation:
- Not leveling base cabinets
- Misaligned seams
- Using the wrong type of adhesive
- Failing to seal natural stone
- Overlooking plumbing or electrical adjustments
- Rushing the curing and setting process
Proper oversight during installation can help avoid costly mistakes down the line.
Final Thoughts
A successful countertop installation requires more than just choosing a beautiful slab—it involves careful preparation, precise execution, and smart follow-up. Whether you’re installing granite countertops, quartz countertops, or going for a complete kitchen countertop installation, attention to detail is key.
From measuring and material selection to seaming and sealing, every step plays a role in the durability and aesthetic of your countertop. Remember, investing in quality installation now can prevent costly countertop repair or premature countertop resurfacing later.
Don’t forget the finishing touch—proper cleaning after installation is essential for long-term maintenance. For expert advice on how and why to clean post-installation, check out this detailed guide on Countertop installation
Your countertops are more than just surfaces—they’re the heart of your kitchen. Make your installation count.