
When it comes to countertop installation, most people immediately think of granite or quartz.
When it comes to countertop installation, most people immediately think of granite or quartz. However, wood remains a strong contender—especially for homeowners who value natural warmth, character, and sustainability. A wood countertop installation offers timeless charm and practicality, whether it’s used as a full-surface solution or a stylish accent in a kitchen island or butcher block section.
This comprehensive guide explores everything you need to know to prepare for and successfully complete a wood kitchen countertop installation, from tools and materials to installation steps and cost considerations.

Why Choose Wood for Countertop Installation?
Wood countertops bring a distinctive aesthetic and tactile appeal that stone surfaces often lack. They are renewable, repairable, and offer unmatched natural beauty. Compared to granite countertop installation or quartz countertop installation, wood offers:
- A warmer look and feel
- Easier customization and DIY potential
- Eco-friendly sourcing and finishing options
- Surface renewability through sanding and oiling
If sustainability is a top priority in your remodel, don’t miss What Eco-Friendly Materials Are Used in Countertop Installation?
Common Wood Types for Countertops
Before getting started, choose the right type of wood based on your kitchen’s design and daily use.
Popular species include:
- Maple – Durable and light-colored, ideal for butcher block tops
- Walnut – Rich, dark grain adds elegance and contrast
- Oak – Timeless and strong, great for rustic styles
- Cherry – Deepens with age, smooth grain
- Teak – Moisture-resistant, great near sinks
- Reclaimed wood – Sustainable and full of character
Each wood type has its own characteristics and will impact the countertop installation cost based on availability, thickness, and finish.
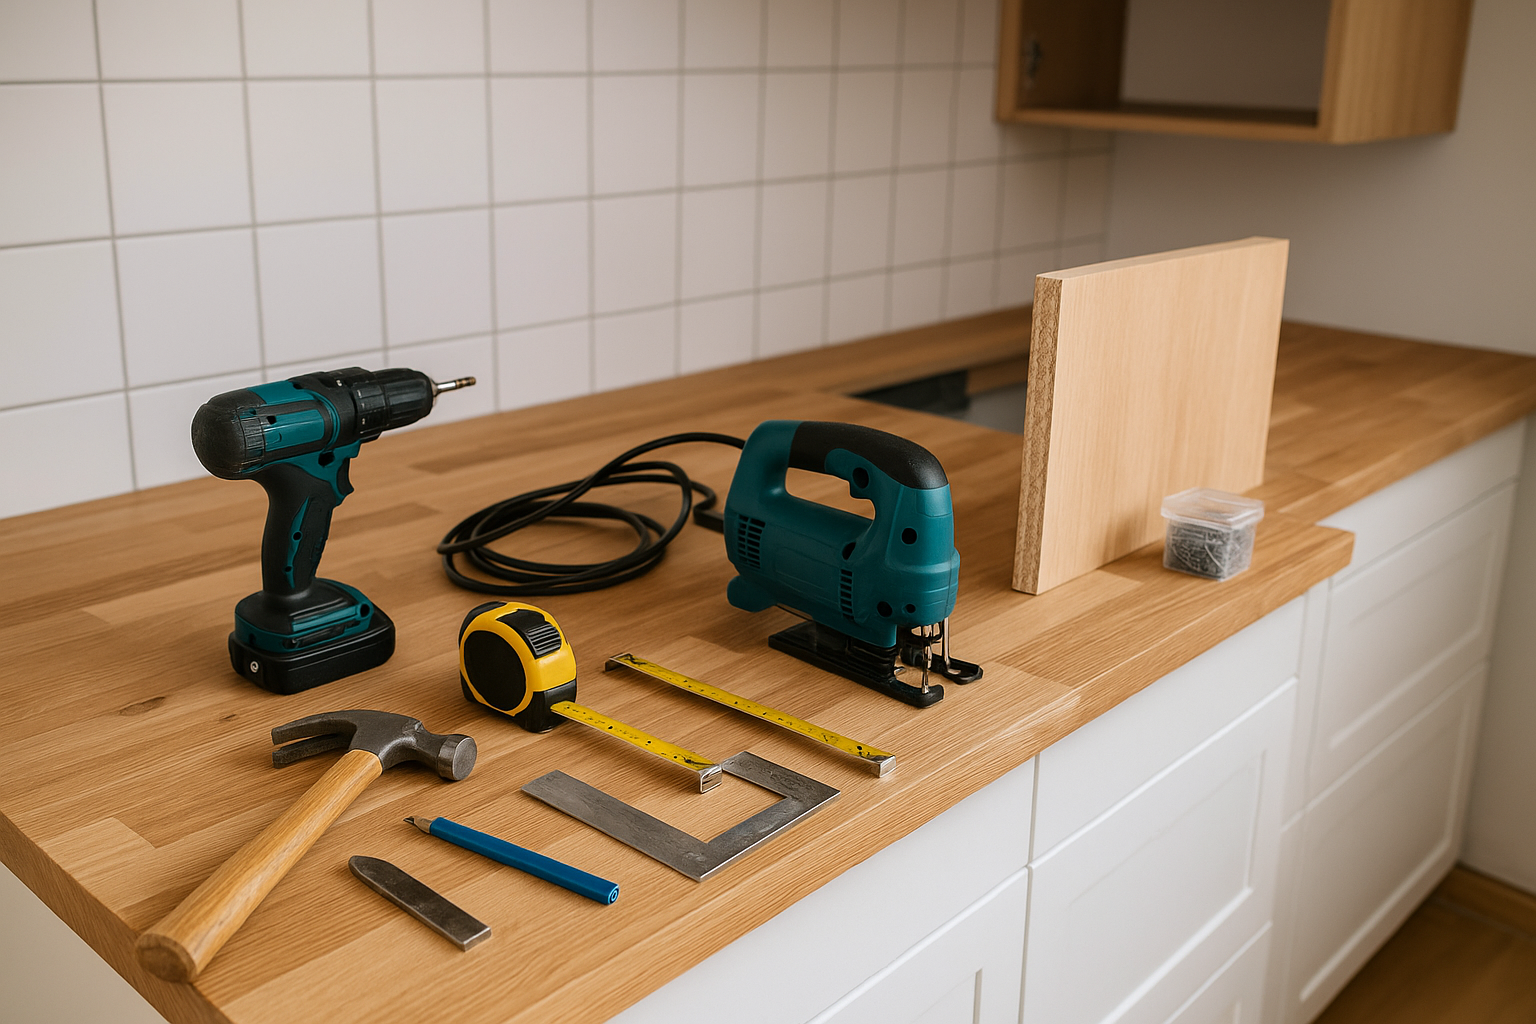
Tools and Materials Needed for Installation
Tools:
- Measuring tape and level
- Circular saw or table saw
- Jigsaw (for cutouts)
- Power drill and driver
- Wood clamps
- Orbital sander
- Caulking gun
Materials:
- Wood countertop slab(s)
- Food-safe wood finish or mineral oil
- Mounting hardware or wood screws
- Silicone or flexible caulk
- Plywood underlayment (optional)
- Edge trim (if needed)
Step-by-Step Guide: Wood Countertop Installation
1. Measure and Cut to Size
Begin by carefully measuring your base cabinets and marking the cut lines on your countertop. Account for:
- 1–1.5 inches of overhang
- Space for appliances and walls
- Sink and cooktop cutouts
Use a circular saw for straight cuts and a jigsaw for custom cutouts.
2. Dry Fit and Level
Before attaching anything, place the countertop on the cabinets to verify fit and level. Use shims if necessary to correct any uneven surfaces.
Proper kitchen countertop fitting ensures durability and prevents damage from stress or shifting.
3. Secure the Countertop
Wood countertops expand and contract with humidity, so avoid rigid mounting.
- Use slotted brackets or elongated screw holes to allow movement
- Secure from underneath using wood screws (never screw down from the top)
- If installing near sinks, reinforce surrounding areas with extra supports or waterproof layers
4. Seal or Finish the Wood
Sealing is critical to prevent moisture damage and staining.
Finish options:
- Mineral oil – Safe for food prep areas, but requires reapplication
- Tung or linseed oil – Deep penetration and water resistance
- Polyurethane – Durable, waterproof finish, less food-safe
Apply evenly using a clean cloth or brush and allow proper drying time between coats.
5. Install Backsplashes and Seal Gaps
Apply a flexible silicone caulk where the countertop meets walls or backsplashes. This accommodates natural movement and prevents moisture infiltration.
Maintenance Requirements
Unlike quartz countertop installation, which is nearly maintenance-free, wood surfaces need occasional attention.
Key tasks include:
- Re-oiling monthly for butcher blocks
- Sanding and resealing scratched or stained areas
- Avoiding direct cuts—always use a cutting board
- Wiping spills quickly to prevent warping or staining
Thanks to this renewability, wood often outperforms other surfaces in long-term countertop repair and countertop resurfacing flexibility.
Countertop Installation Cost: Wood vs. Other Materials
| Material | Avg. Cost Installed (per sq. ft.) | Maintenance Level | Repairability |
|---|---|---|---|
| Wood | $50–$150 | Moderate | Excellent |
| Quartz | $70–$150 | Low | Moderate |
| Granite | $80–$200 | Moderate | Difficult |
While wood is generally more affordable than high-end stone, it requires ongoing maintenance to stay in optimal condition.
To compare the benefits of engineered stone, see Why Choose Quartz for Countertop Installation?
DIY or Professional Installation?
Wood is one of the most DIY-friendly countertop materials. However, consider hiring a pro if your project involves:
- Integrated sinks
- Custom edge profiles
- Angled cuts or non-standard cabinet configurations
- Commercial-grade sealing for high-use kitchens
Professional countertop installation near me services can save time, reduce waste, and offer better warranties.
Final Thoughts
Wood countertops provide a unique, inviting alternative to conventional stone and synthetic materials. With the right tools, preparation, and maintenance, a wood countertop installation adds lasting beauty, warmth, and value to your kitchen space.
Whether you’re renovating an old space or embarking on a full countertop replacement, wood remains one of the most flexible, sustainable, and visually appealing choices available today.