
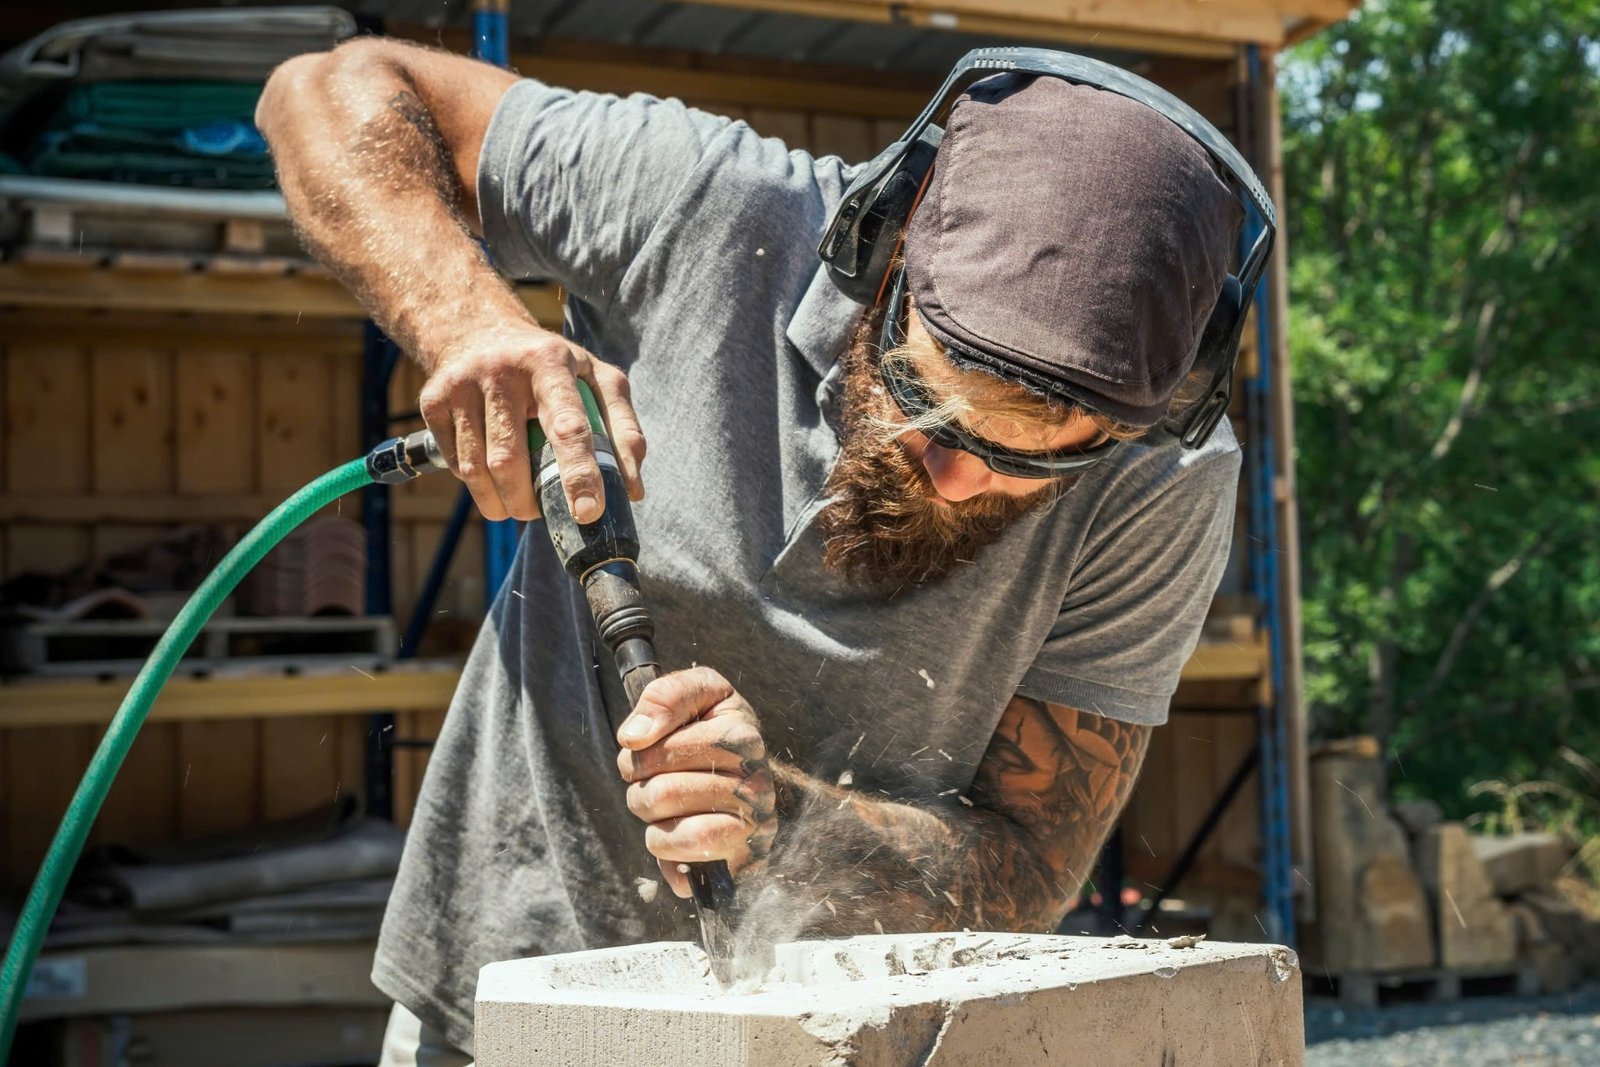
Transporting granite countertops requires precision, planning, and safety. Whether you're a contractor, stone fabricator
Transporting granite countertops requires precision, planning, and safety. Whether you’re a contractor, stone fabricator, or a homeowner managing a DIY granite countertop installation, knowing how to build an A-frame to safely transport granite slabs is essential. A properly built A-frame can prevent costly granite countertop repair or even personal injury during handling.
In this guide, we’ll explore everything you need to know about building an A-frame for moving granite slabs—step-by-step.
Why an A-Frame Is Crucial for Granite Slab Transport
Granite is beautiful, durable, and extremely heavy. Without a stable structure, even a small bump in transit can damage the stone or compromise the polished finish. An A-frame offers:
- Even weight distribution
- Secure vertical support for granite slabs
- Enhanced mobility during countertop installation
- Reduction of risks for granite countertop repair
Materials Needed for Building an A-Frame
Before you begin, gather these tools and materials:
- 2x4s or 2x6s lumber (pressure-treated for durability)
- Plywood sheets (for base and support)
- Lag bolts or heavy-duty wood screws
- Angle brackets and metal braces
- Rubber padding or foam strips (to prevent scratches)
- Measuring tape, drill, level, and saw
Pro Tip:
Using good-quality lumber and hardware ensures long-term use, especially if you’re transporting granite countertops often.
Step-by-Step: How to Build an A-Frame for Granite Countertops
Step 1: Design and Measurement
Start by planning the size of your A-frame. Consider the granite slab size you intend to transport. The frame should be taller than the average slab and wide enough to hold multiple panels, if needed.
Suggested Dimensions:
- Height: 60″–72″
- Width: 36″–48″
- Base depth: 24″–30″
Use this guide to understand how to measure for granite countertops accurately.
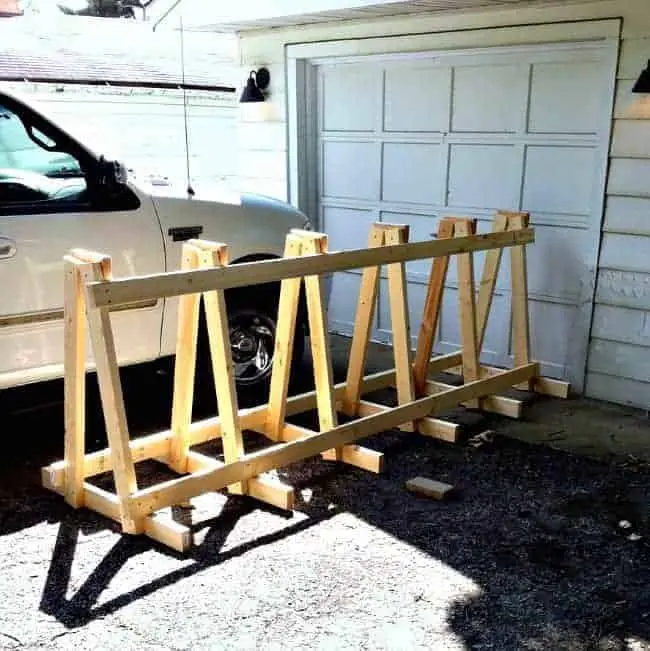
Step 2: Build the Base
The base will bear the entire weight of the granite slabs, so it must be sturdy.
- Create a rectangular base using 2x6s.
- Secure plywood over the base for extra support.
- Attach four caster wheels if you need mobility.
Make sure the base is perfectly level to avoid leaning, especially during loading.
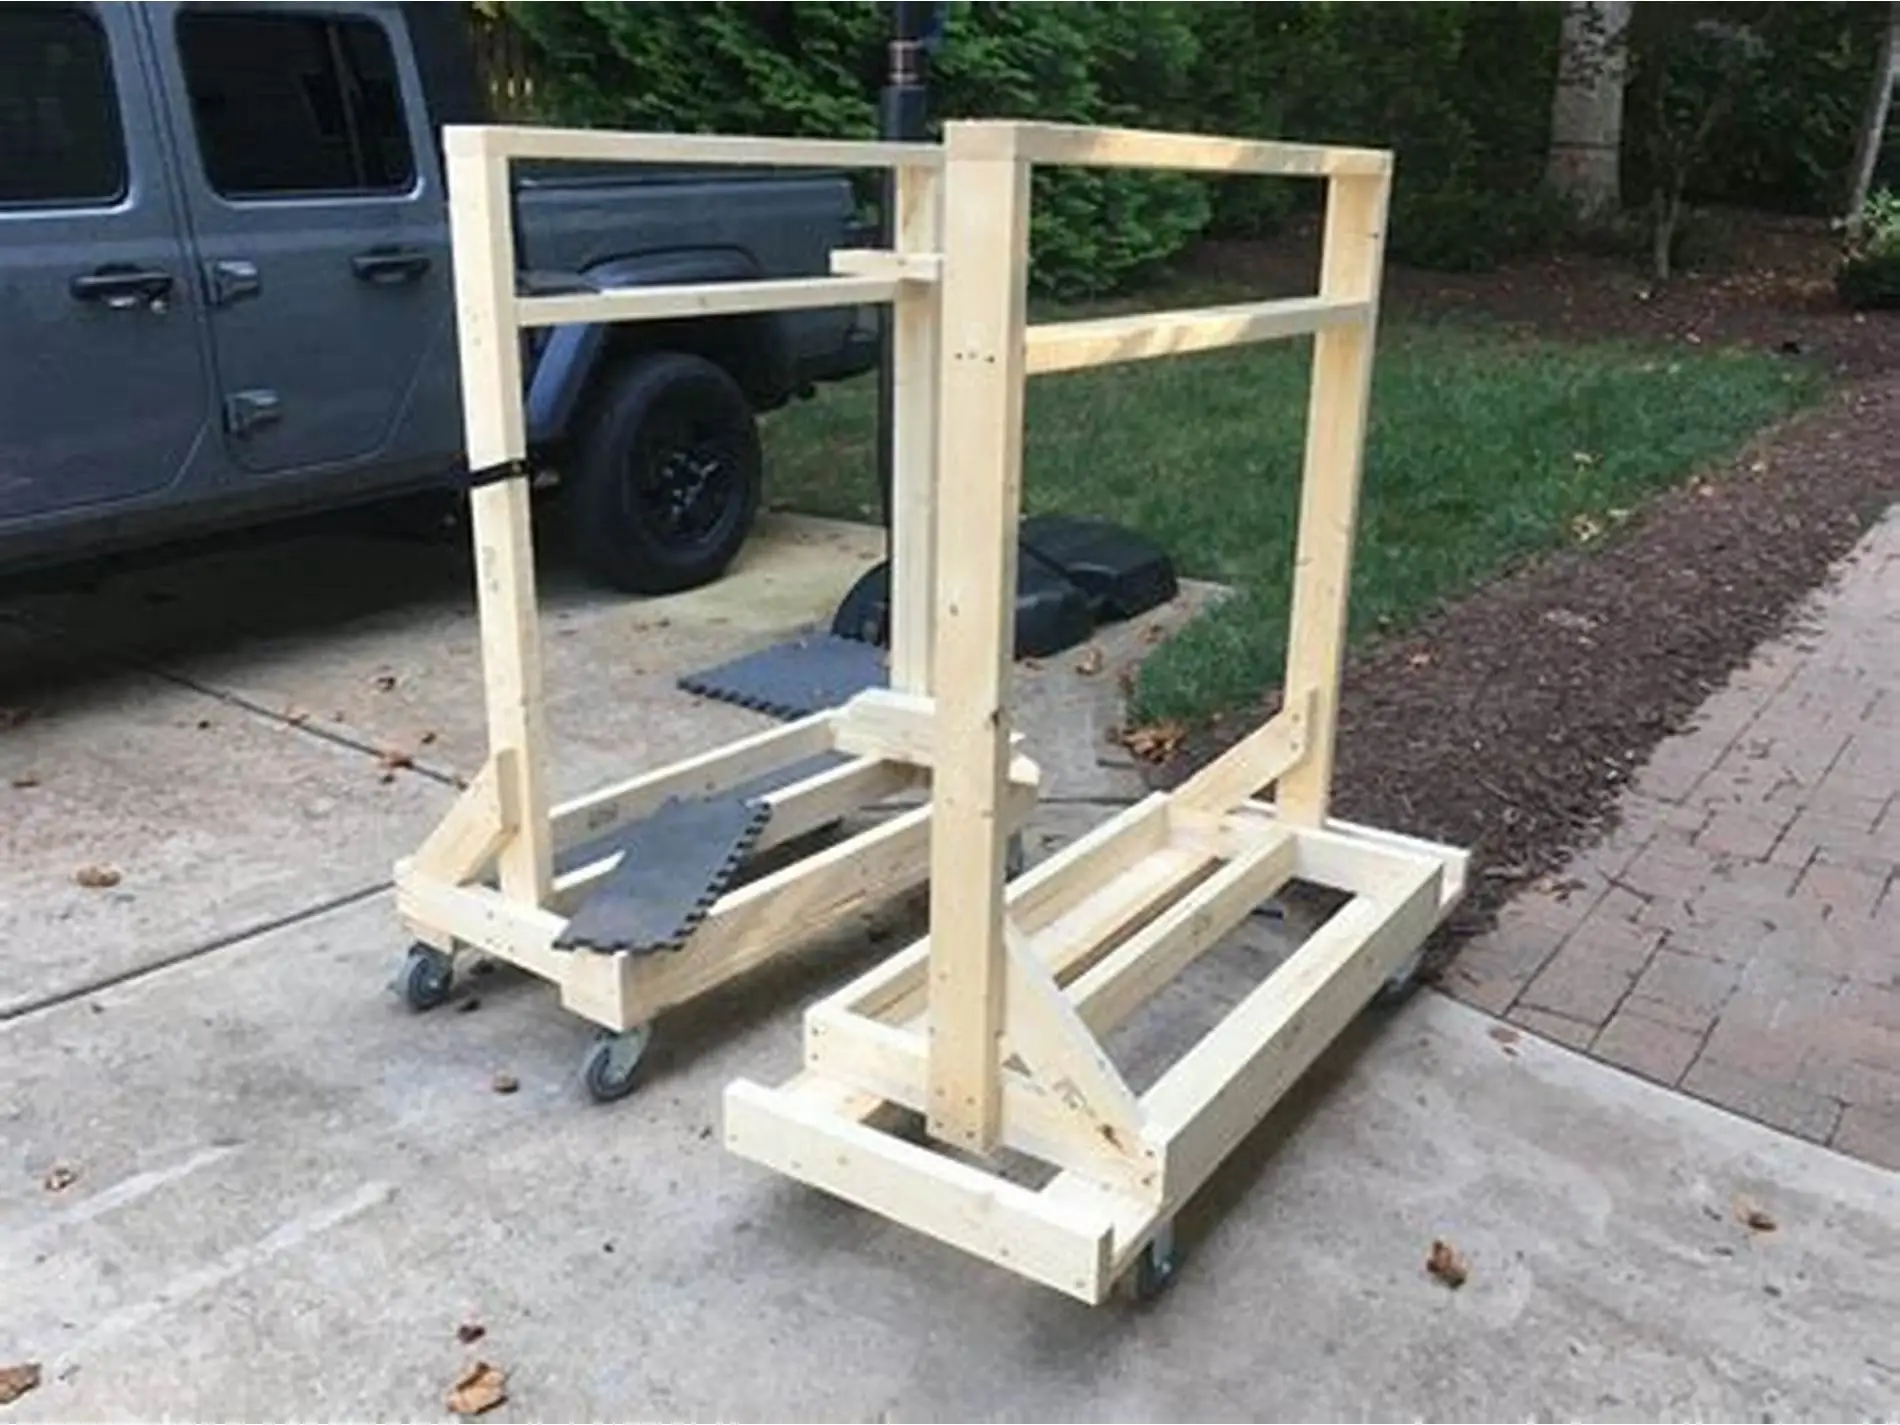
Step 3: Frame the A-Shape
- Cut two long boards for the A-sides. These will be angled and form the triangular shape.
- Attach them to the base on opposite edges, angling them inward to meet at the top.
- Secure the top with a crossbar.
- Add diagonal braces for additional support.
This triangular support is ideal for granite countertop slabs due to the even distribution of vertical stress.
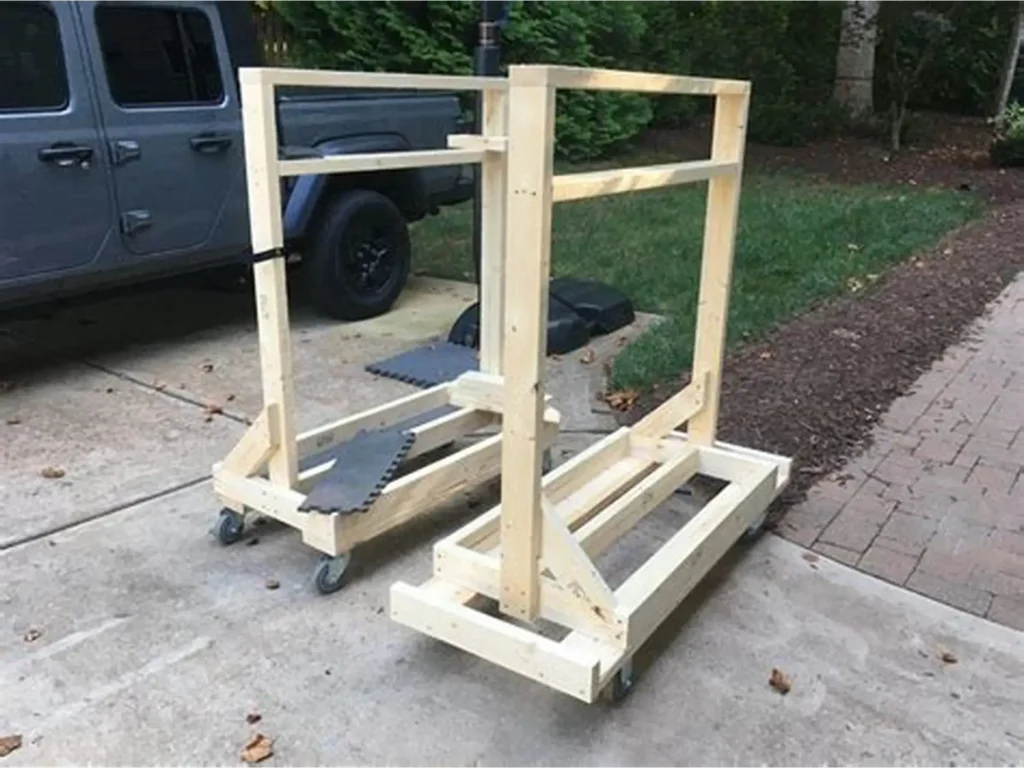
Step 4: Add Side Supports and Padding
To protect your granite slabs:
- Attach rubber or foam strips along the inner faces of the frame.
- Install angled support ledges or brackets every 12″–18″.
- Add side barriers or slats to prevent the slab from slipping off during movement.
These steps are crucial in avoiding granite countertop damage or unnecessary granite countertop repair work.
Step 5: Secure the Slabs
Once the frame is complete, position granite slabs vertically and secure them using ratchet straps or heavy-duty clamps. Avoid stacking slabs directly against each other.
If transporting both kitchen countertops and bathroom vanity tops, separate them using foam or plywood dividers.
Safety Tips for Transporting Granite Countertops
- Always lift granite with two or more people.
- Wear safety gloves and steel-toed boots.
- Avoid laying granite flat during transport; keep it vertical.
- Use edge guards to prevent chipping.
To understand what your slab may look like, see What Is a Granite Countertop? for visual and structural insights.
Granite Countertop Maintenance During Transport
Even when using an A-frame, take these steps to maintain your granite slab’s integrity:
- Avoid transporting during wet or freezing weather.
- Always inspect for hairline cracks or pre-existing flaws.
- Reseal if the slab will be stored for extended periods.
Proper transport reduces the need for post-installation granite countertop repair and improves the quality of your granite countertop installation.
Considerations Based on Granite Countertop Types
Different granite countertop colors and finishes require slightly different handling. For example:
- Polished granite slabs may be more prone to scratching.
- Honed granite countertops require extra padding.
- Prefabricated granite may already come with cutouts and are more fragile around the edges.
For prefabs, read: How to Cut Prefab Granite Countertops?
Granite Countertop Cost vs. DIY A-Frame Cost
Building your A-frame is a small investment compared to the price of even a single granite slab.
| Component | Approximate Cost |
|---|---|
| Lumber & Plywood | $50 – $120 |
| Hardware & Brackets | $20 – $50 |
| Padding Material | $10 – $25 |
| Wheels (optional) | $30 – $60 |
| Total | $110 – $250 |
Compare this with the average granite countertop prices, which can range from $40–$100 per square foot, and it becomes clear why an A-frame is a worthwhile investment.
Final Thoughts
Whether you’re a professional or tackling a home project, transporting granite safely is critical. Learning how to build an A-frame to transport granite countertops gives you peace of mind and helps avoid damage to your investment.
By following the step-by-step guide above, you ensure that your granite countertop, whether it’s for a kitchen, bathroom, or custom granite countertop design, arrives in perfect condition—ready to enhance your space.
📌 Explore more: