

When it comes to transforming your kitchen, countertop installation is one of the most impactful upgrades you can make.
When it comes to transforming your kitchen, countertop installation is one of the most impactful upgrades you can make. It enhances functionality, increases property value, and dramatically improves aesthetics. But behind every polished finish and seamless fit is a carefully executed process—and that requires the right tools.
Whether you’re planning a kitchen countertop installation, working with a professional, or curious about how the process works, this article will walk you through the essential tools required for installing granite, quartz, and other countertop materials. Understanding the tools behind the craft also helps you evaluate the quality of workmanship and avoid common mistakes.
Why the Right Tools Matter in Countertop Installation
Tools are the backbone of every successful installation. Precision instruments and heavy-duty equipment ensure proper measurement, secure mounting, and flawless finishing.
Using improper tools during a countertop installation can lead to:
- Poor seam alignment
- Uneven surfaces
- Structural damage
- Increased countertop repair needs
- Costly countertop replacement
To maximize results and material longevity, discover How Does Countertop Installation Result in Long-Lasting Countertop Materials?
Essential Tools for Countertop Installation
1. Measuring and Templating Tools
Before a single cut is made, precise measurements are critical. Templating ensures the new countertop fits perfectly atop your cabinetry.
Common tools include:
- Laser level – Ensures cabinets and surfaces are level
- Digital templater – Creates precise CAD files for fabrication
- Tape measure and straight edge – Basic but essential for layout
- Template sticks or strips – Used for custom shape tracing
Professional kitchen countertop fitting relies on accurate templates to prevent misalignment and unnecessary cuts.
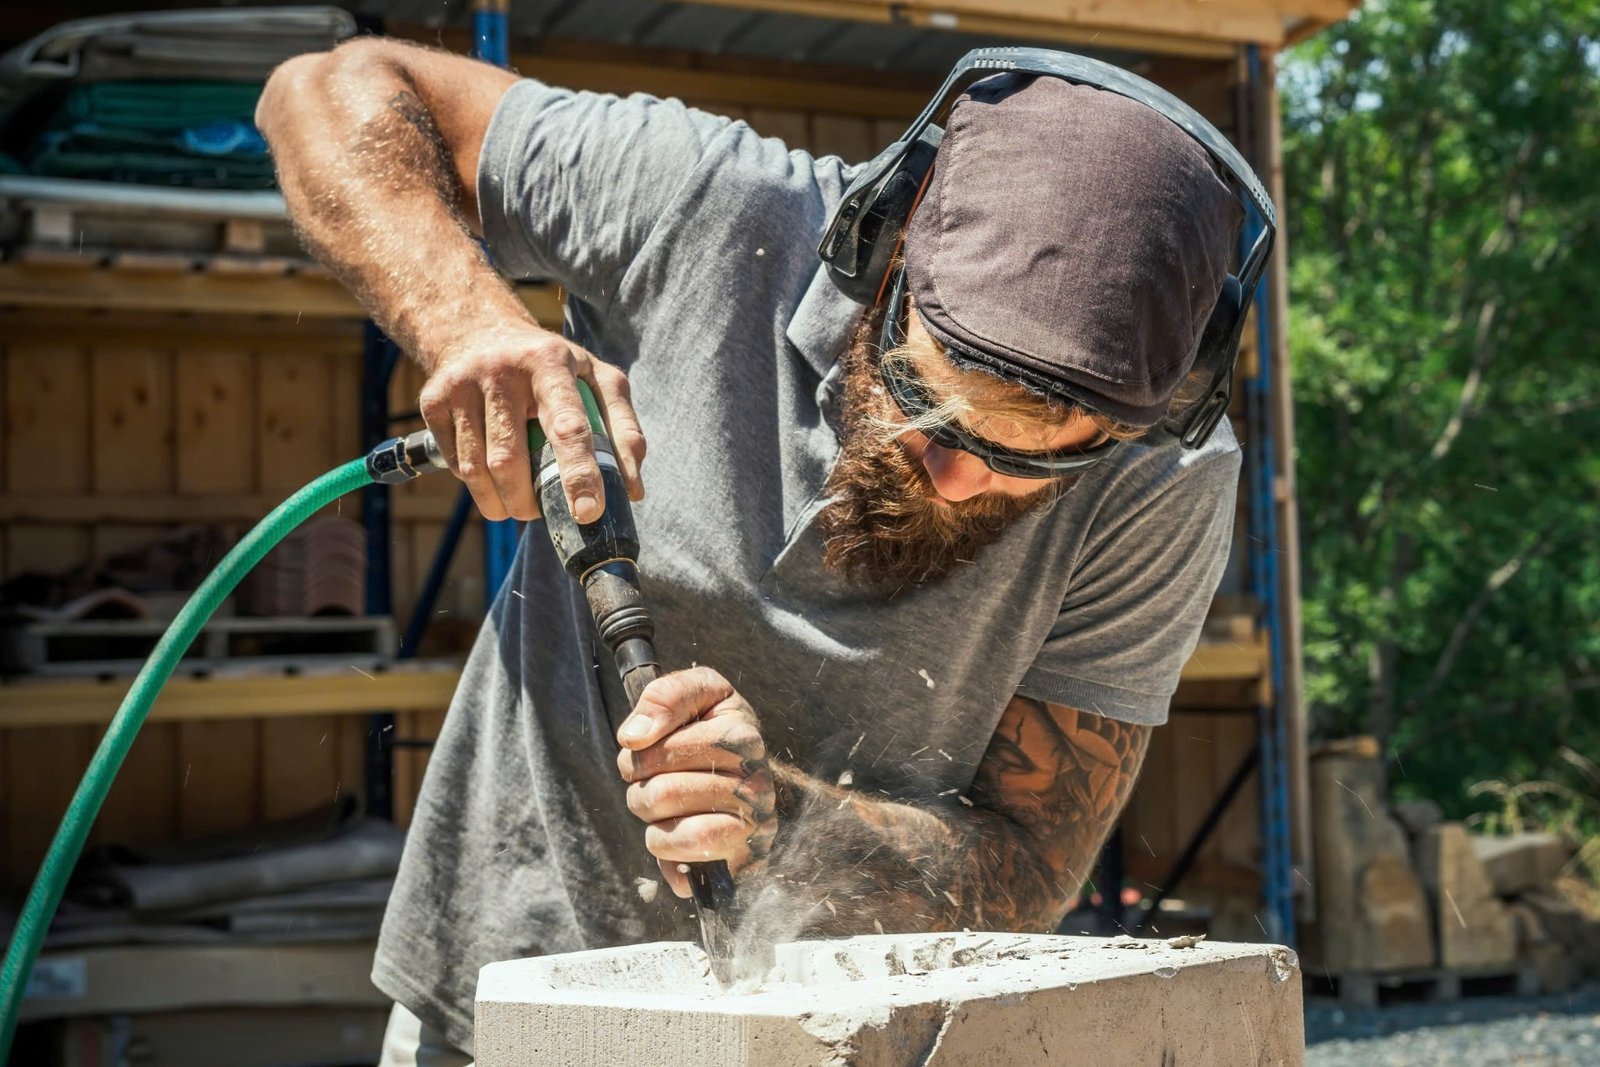
2. Cutting and Shaping Tools
Different materials require specialized blades and saws for clean, chip-free cuts.
For Granite Countertop Installation:
- Wet saw with diamond blade – Essential for cutting hard stone
- Angle grinder – Used for finishing edges and notching corners
- CNC machine (computer-controlled) – Delivers high-precision custom shaping
For Quartz Countertop Installation:
- Bridge saw with water feed – Prevents heat and cracking
- Router with diamond bit – For cutouts (sinks, cooktops) and edge profiles
3. Lifting and Transport Tools
Natural stone and engineered slabs can weigh hundreds of pounds. Lifting safely requires mechanical assistance.
Must-have tools:
- Vacuum lifters or suction cups – For safe slab handling
- Slab dolly or A-frame cart – Used to move slabs on-site
- Clamp lifters – For vertical lifting of granite countertops installed indoors
Want to source premium slabs for your project? See Where to Buy the Best Materials for Countertop Installation?
4. Seaming and Joining Tools
To achieve a seamless look—especially in multi-piece installations—installers use tools to join and level surfaces precisely.
Key tools:
- Seam setters – Suction-based devices that pull seams together while leveling them
- Epoxy dispenser and colorant kit – For strong, invisible bonding
- Clamps – Used during curing to prevent separation
In designs like waterfall edges or large-format quartz, precision joining makes all the difference.
5. Polishing and Finishing Tools
After placement and joining, edges and surfaces are finished for a smooth, professional look.
Polishing tools include:
- Variable-speed polishers – Used with diamond polishing pads
- Sanding discs or resin pads – For custom edge treatments
- Buffing wheels – Final shine for polished finishes
- Edge profiler – For shaping rounded, beveled, or ogee edges
6. Adhesives, Fasteners, and Installation Supplies
No countertop stays in place without secure bonding.
Typical installation materials:
- Adhesive silicone or construction glue – Secures countertop to cabinets
- Wood shims – Adjust for levelness
- Sealant – Especially important for porous stones like granite
- Screws and brackets – For undermount sink support or overhang reinforcement
Specialized Tools for Countertop Repair and Resurfacing
Sometimes, you don’t need a full replacement. For minor issues like chips or surface wear, the following tools come in handy:
- Stone repair kits – For color-matched chip filling
- Orbital sander – To smooth resurfaced laminate or solid surface
- Epoxy patching tools – For marble or granite cracks
- Hand polishers – To restore sheen without professional gear
While countertop resurfacing has its place, long-term results are best achieved through full installation when damage is structural or widespread.
The Cost of Tools vs. the Cost of Installation
DIY Tool Investment Estimate:
| Tool Type | Estimated Cost |
|---|---|
| Measuring & Templating | $50 – $400 |
| Saw & Blades | $200 – $1,500 |
| Polishing Equipment | $300 – $800 |
| Lifters & Seam Setters | $300 – $2,000+ |
| Adhesives & Sealants | $100 – $300 |
The total cost of DIY tools often exceeds hiring a pro—especially if only used once. That’s why many homeowners opt to search “countertop installation near me” and work with certified teams who already have the gear and experience.
For more insights on value, read What Are the Real-Life Benefits of Countertop Installation?
Popular Styles That Require Specialized Tools
Some countertop designs require advanced tooling and expertise to achieve correctly:
- Bookmatched granite installations – Need careful slab alignment
- Waterfall quartz islands – Require precision mitering and seaming
- Integrated sink installations – Need routering and bonding tools
- Full-height backsplashes – Require seamless joining and mounting
To see how design impacts tool usage and planning, explore What Countertop Installation Styles Enhance Kitchen Aesthetics?
Conclusion
Countertop installation is both an art and a science—and having the right tools makes all the difference. From cutting and lifting to finishing and sealing, each stage of the process depends on specialized equipment to ensure durability, safety, and stunning aesthetics.
Whether you’re working with granite, quartz, or solid surface, professional tools and installation techniques guarantee results that last. Instead of investing in expensive gear for a one-time project, most homeowners benefit from hiring skilled installers who already have the tools, training, and techniques to get the job done right.