
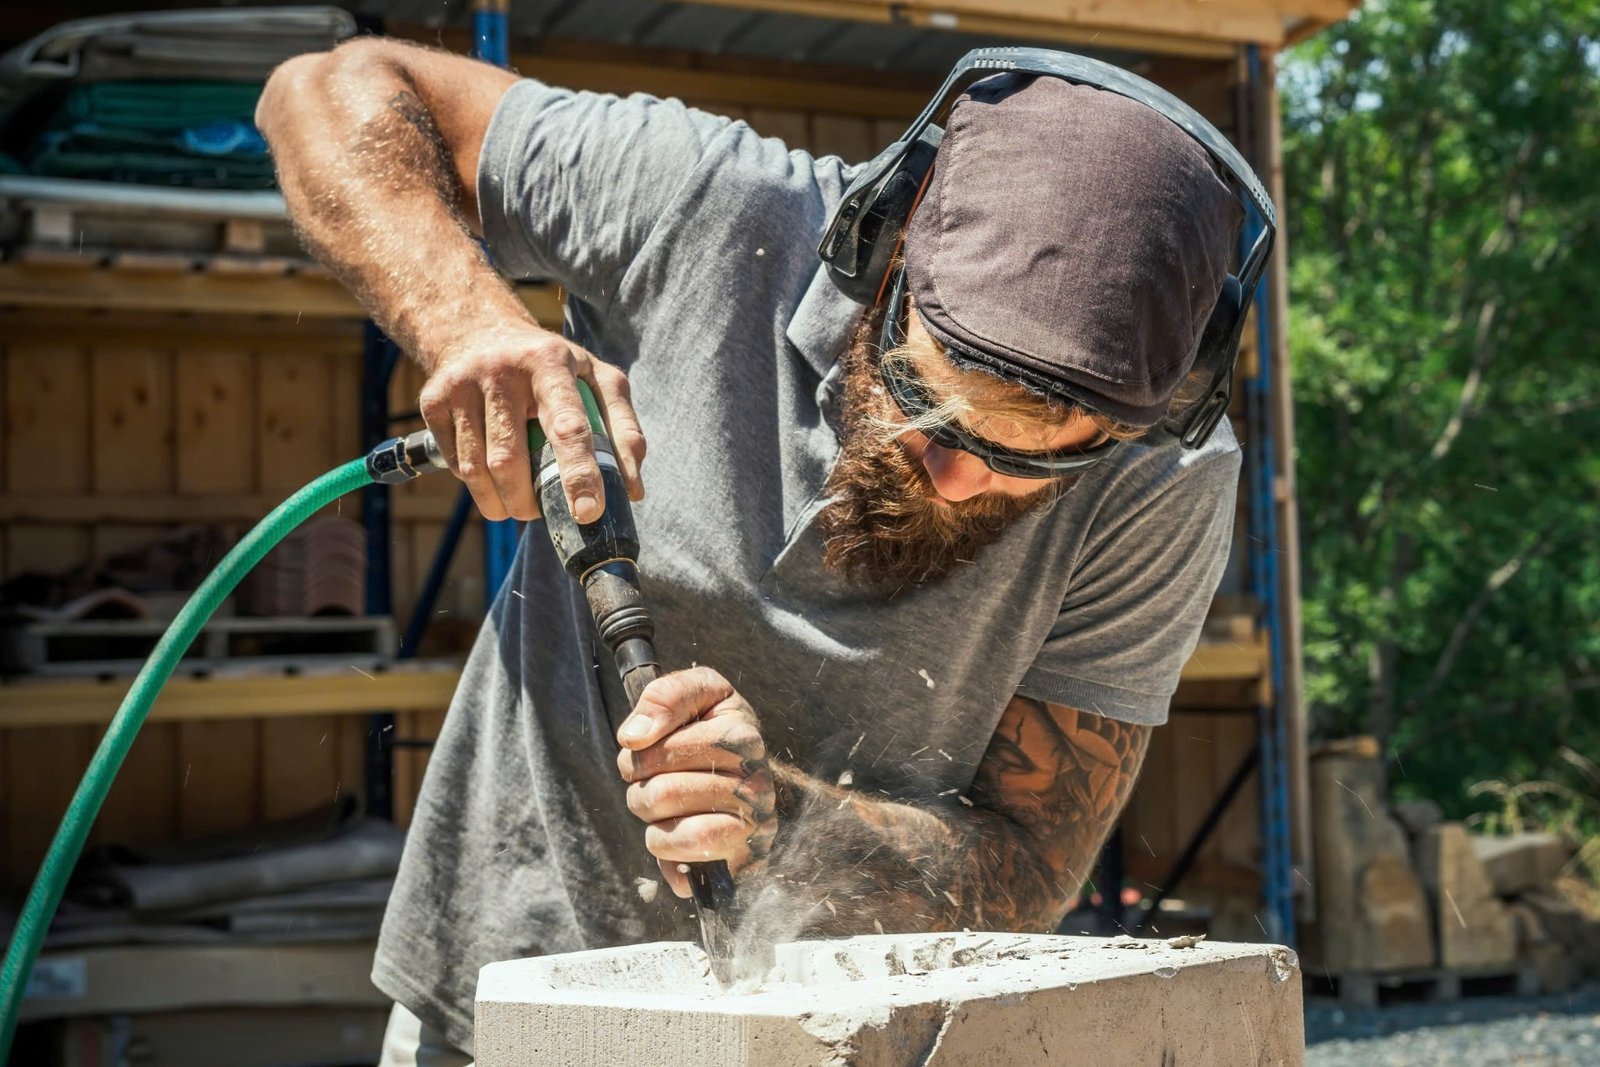
In any countertop installation project—whether it’s a sleek quartz kitchen island or a rugged granite slab—the finishing touches
In any countertop installation project—whether it’s a sleek quartz kitchen island or a rugged granite slab—the finishing touches are what separate a professional-grade result from a DIY disaster. One of the most overlooked but essential steps is edge finishing. Done at the right time and with the right technique, it enhances safety, durability, and aesthetic value.
But here’s the problem: many DIYers and even some pros mishandle this step. Mistakes like chipping, uneven grinding, and poor sealing are common—especially when working with granite countertops installed or advanced materials like engineered stone.
In this guide, we’ll explore:
- When to perform edge finishing during kitchen countertop installation
- Why edge finishing errors happen
- How to prevent and fix these errors
- Where to seek help if needed
What Is Edge Finishing in Countertop Installation?
Edge finishing is the process of shaping, smoothing, and polishing the visible edges of your countertop. It applies to all materials, including:
- Quartz countertop installation
- Granite countertop installation
- Laminate, butcher block, and solid surfaces
Edge finishing ensures that the exposed borders are smooth, visually cohesive, and structurally reinforced.
Learn more about its importance here:
👉 Why Is Edge Finishing Important in Countertop Installation?
When Should You Do Edge Finishing?
🔧 Before Installation (Preferred for Factory-Finished Slabs)
Most custom countertops come with pre-finished edges fabricated offsite. In this case, edge finishing is done:
- After slab cutting and sink cutout
- Before transport to the job site
- Using industrial grinders and polishers
This ensures maximum precision, material protection, and a clean install.
🔨 During Installation (DIY or Onsite Fitting)
In DIY or partial custom jobs, edge finishing is often done after slabs are dry-fitted:
- After checking alignment and leveling
- Before sealing and final adhesive
- Ideal when slabs are cut onsite or modified last-minute
This gives flexibility for adjustments and allows better blending of seams.
⚠️ After Installation (Corrective Finishing)
Sometimes finishing must be done after full kitchen countertop fitting, especially to:
- Correct chipped or scratched edges
- Refinish exposed corners after backsplash or cabinet adjustment
- Adjust seams between multiple slabs
Although not ideal, this stage is common in countertop repair or when fixing minor installation errors.
Why Do Edge Finishing Errors Occur?
Even experienced installers can face issues with edge finishing. Here’s why:
1. Incorrect Tool Use
Using the wrong blade or polisher speed can cause chipping, burning, or uneven edges—especially with stone materials.
2. Inconsistent Pressure
Applying uneven pressure during polishing results in wavy edges or undercuts.
3. Skipping Grit Progression
For stone edges, skipping grit levels (e.g., 50 → 800) leads to visible marks and reduced shine.
4. Inadequate Sealing
Failing to seal polished granite or porous stone edges can result in:
- Staining
- Water damage
- Structural weakness
5. Poor Planning
Improper timing—such as edge finishing after installing hardware—can lead to misaligned fixtures or surface scratches.
Common Edge Finishing Mistakes in DIY Projects
| Mistake | Result |
|---|---|
| No masking tape or guides | Uneven lines or over-grinding |
| Polishing dry (on stone) | Cracks, dust inhalation risk |
| Rushing the finishing process | Inconsistent gloss, rough texture |
| Skipping corner finishing | Sharp or hazardous points |
Planning a DIY install? Stay safe and precise with this guide:
👉 How Do You Ensure Accuracy and Safety in a DIY Countertop Installation?
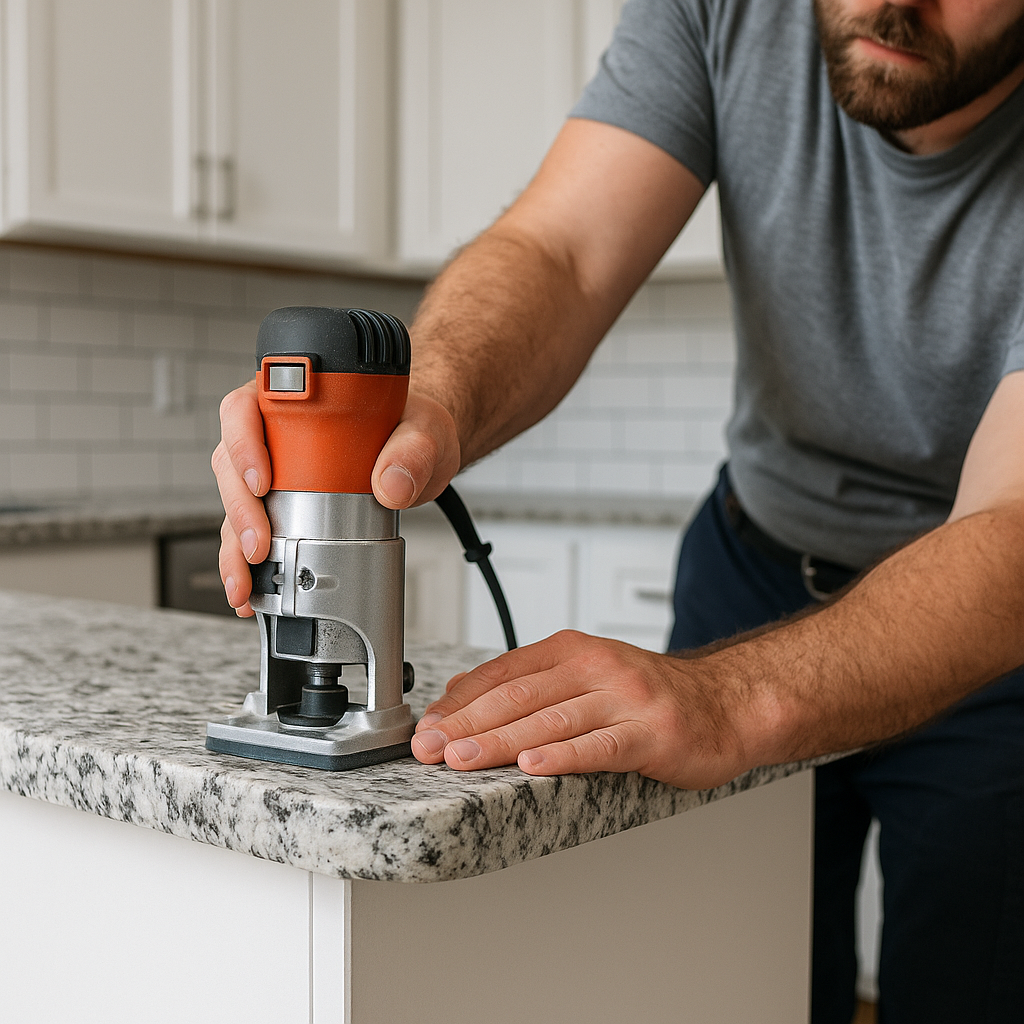
Tools You’ll Need for Accurate Edge Finishing
Depending on your material, your edge finishing toolkit should include:
- Router with edge bits (for wood/laminate)
- Variable-speed wet polisher (for granite/quartz)
- Diamond polishing pads (50 to 3000 grit)
- Masking tape and edge guides
- Sealer and buffing cloth
Always wear safety gear: gloves, goggles, hearing protection, and dust masks.
What to Do If You Make a Mistake
Even with preparation, edge finishing mistakes can happen. Here’s how to respond:
✅ Minor Chipping
- Use epoxy filler and color-match pigment
- Sand and polish once cured
✅ Uneven or Wavy Edges
- Re-grind with a coarser pad (e.g., 200-grit) and progress upward
- Use straightedge guides to maintain uniformity
✅ Water Stains or Discoloration
- Apply stone-safe cleaner
- Re-seal the affected edge
If the damage is beyond repair, a countertop resurfacing or edge replacement might be necessary.
When to Call in a Pro
If your DIY edge finishing creates:
- Deep cracks near sink cutouts
- Large chips on exposed edges
- Unrepairable seam mismatches
…it’s time to call in help. Pros can refinish or re-polish slabs with industrial tools—or recommend a countertop replacement if needed.
To avoid further issues, consider searching countertop installation near me for licensed fabricators or installers.
Final Thoughts
Edge finishing isn’t just a finishing touch—it’s a fundamental component of a well-executed countertop installation. Done right and at the correct stage, it enhances durability, aesthetics, and safety. Done wrong, and it can compromise your entire project.
By understanding when to complete edge finishing—and why errors happen—you’ll reduce the risk of damage and ensure a flawless, long-lasting countertop.