
Tackling a DIY countertop installation can be both rewarding and cost-effective—but only if it’s done with accuracy and safety in mind
Tackling a DIY countertop installation can be both rewarding and cost-effective—but only if it’s done with accuracy and safety in mind. From precise measurements to proper material handling, every step must be thoughtfully planned and executed. Mistakes not only compromise the final look and functionality but can also lead to injury or costly countertop replacement.
This article will guide you through the best practices to ensure your DIY kitchen countertop installation is safe, precise, and professional-looking—whether you’re working with granite countertops, quartz, or laminate.
Why Accuracy and Safety Matter in Countertop Installation
A successful countertop installation depends on:
- Proper measurement and templating
- Leveling and structural support
- Correct material handling
- Use of the right tools
- Following safety protocols
Without attention to detail, your finished kitchen may suffer from misaligned seams, cracked slabs, or even injuries from improper tool use.
Before diving in, make sure you understand the full scope of your project. Start here:
👉 Where Should You Begin When Doing a DIY Countertop Installation?
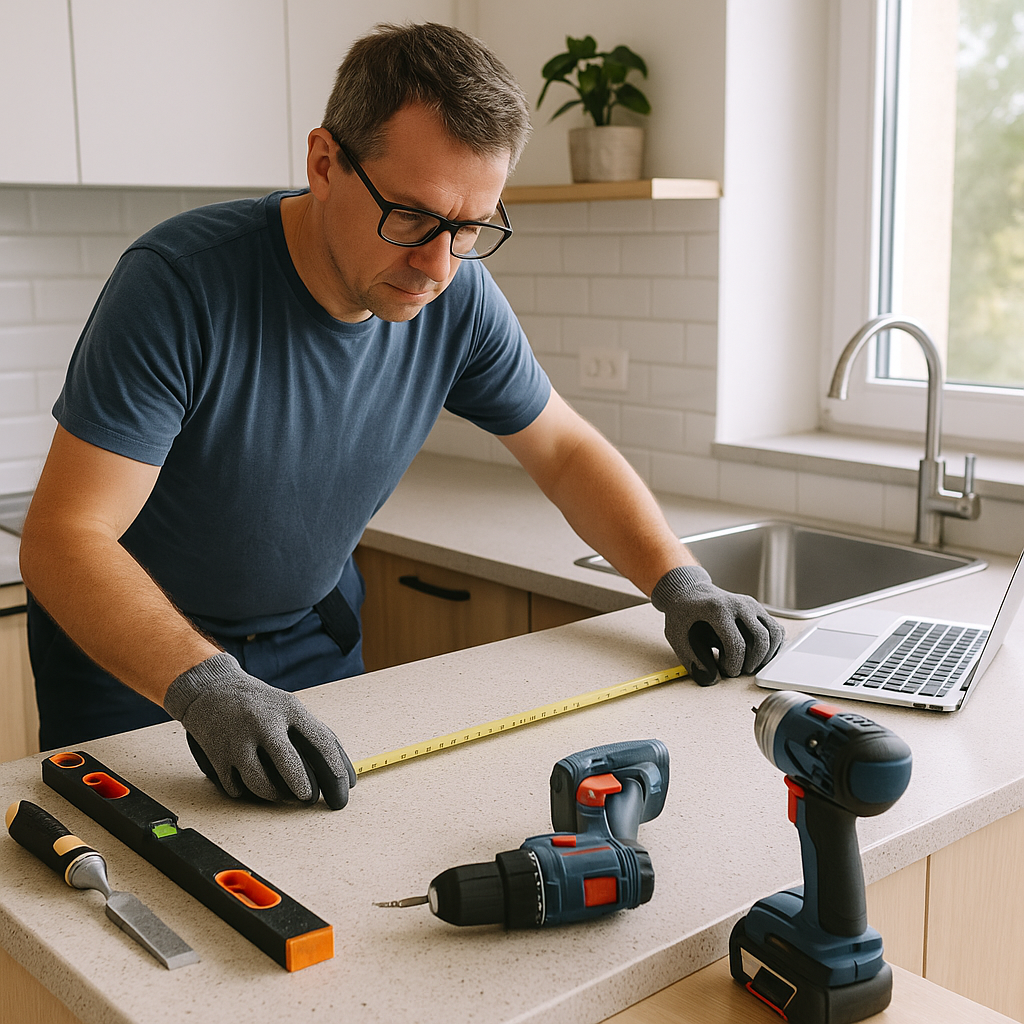
Step 1: Plan and Measure with Precision
Accurate measurement is the foundation of a flawless install. Use a high-quality tape measure and digital level to:
- Record exact lengths, depths, and overhangs
- Double-check wall squareness
- Include sink, cooktop, and faucet placement
Create a full-size template using plywood or cardboard, especially for curved or angled layouts.
Tips for Accurate Measuring:
- Measure in millimeters for precision
- Use a laser level for long sections
- Account for backsplash space and edge profiles
Step 2: Use the Right Tools
Using the proper tools isn’t just about achieving a clean finish—it’s also about safety. Essential tools include:
- Circular or track saw (with fine-tooth or diamond blade for stone)
- Jigsaw for sink or fixture cutouts
- Angle grinder or polisher for finishing edges
- Caulking gun for adhesives and sealants
- Clamps, levels, and straight edges
For heavy stone materials like granite countertop installation, consider using:
- Vacuum lifters or stone handling clamps
- Stone dolly or transport cart
Always wear safety gear: goggles, gloves, dust masks, and ear protection.
Step 3: Prepare a Stable Work Area
A level and stable surface is essential during both cutting and installation. Here’s how to prep:
- Clear the work area of debris or clutter
- Use sawhorses or workbenches with non-slip pads
- Ensure cabinets are perfectly level and secure
Check cabinet level across all axes. Use shims where needed to prevent stress points that could crack stone surfaces.
Step 4: Cut and Handle Materials Safely
If you’re cutting quartz or granite, use a wet saw with a diamond blade to prevent chipping and reduce airborne dust. Always support both sides of the cut to prevent cracking.
Handling Tips for Heavy Countertops:
- Always lift with a second person (or more)
- Wear steel-toed shoes and back braces
- Never lift stone vertically—keep slabs flat
- Use edge protectors during transport
Improper handling can lead to dangerous breaks and costly countertop repair or replacement.
Step 5: Dry Fit Everything First
Before using adhesives or setting any slabs:
- Lay everything out to ensure perfect fit
- Test all cutouts with sinks and appliances
- Confirm seam alignment and edge joins
This dry run helps you avoid irreversible mistakes and lets you make minor adjustments without stress.
Step 6: Install with Care
Once satisfied with the dry fit:
- Apply construction adhesive or stone-safe silicone to cabinet tops
- Lower countertop gently and evenly
- Use clamps to hold pieces in place as needed
- Fill seams with color-matched epoxy
Wipe off excess adhesive immediately and allow appropriate curing time before using the countertop.
Step 7: Seal Natural Stone Properly
If using granite, butcher block, or other porous materials, sealing is critical to prevent staining and water damage.
How to seal:
- Apply a penetrating stone sealer evenly
- Let it soak for 10–15 minutes
- Wipe off excess and buff the surface
- Repeat if required by the product
Quartz countertops generally do not require sealing, but always confirm with the manufacturer.
Common Mistakes to Avoid
| Mistake | Result |
|---|---|
| Cutting without templates | Inaccurate fit, wasted materials |
| Skipping cabinet leveling | Stress cracks and seam gaps |
| Using wrong adhesives | Weak bonds and surface discoloration |
| Rushing the sealing process | Water damage, stains, mold growth |
| Handling stone alone | Personal injury or slab breakage |
Who Can Help If Something Goes Wrong?
Even with careful planning, DIY projects can sometimes go awry. If you experience a mistake, such as a cracked slab, uneven installation, or incorrect cutouts, don’t panic. There are skilled professionals who can help salvage your project.
Find out who to call and what solutions are available in:
👉 Who Can Help If Something Goes Wrong During Your DIY Countertop Installation?
Cost Comparison: DIY vs. Professional Installation
| Task | DIY Cost Estimate | Pro Install Cost |
|---|---|---|
| Materials (Quartz, Granite, etc.) | $800 – $2,500 | $800 – $2,500 |
| Tools & Safety Gear | $150 – $600 (one-time) | Included |
| Labor | Free | $800 – $2,000+ |
| Total Estimated Cost | $950 – $3,100 | $1,800 – $4,500+ |
DIY is more affordable if done right—but can become more expensive if mistakes lead to full countertop replacement.
Final Thoughts
DIY countertop installation is a powerful way to improve your home’s value and function while saving on labor. But success depends entirely on your ability to prioritize accuracy and safety.
By starting with detailed measurements, choosing the right materials, using the proper tools, and following strict safety protocols, you can achieve results that rival those of professional installers.
And if anything goes wrong along the way, you’re not alone—reliable help is just a call away.