
A successful DIY countertop installation begins long before the first cut or the adhesive is applied.
A successful DIY countertop installation begins long before the first cut or the adhesive is applied. Whether you’re updating your kitchen with sleek quartz or natural granite, taking on your own countertop installation can be a cost-effective and rewarding project—if approached with the right preparation and planning.
This guide will help you identify exactly where to begin, how to plan your layout, what tools and materials you’ll need, and how to avoid common mistakes. Whether you’re performing a full kitchen countertop installation or a targeted countertop replacement, understanding the first steps is crucial for long-term success.
Why Start with a Plan?
Like any renovation, rushing into countertop installation without proper planning can lead to misaligned seams, costly rework, or worse—damaged materials. The planning phase sets the tone for everything that follows and helps ensure your installation is:
- Accurate
- Level
- Structurally sound
- Aesthetically appealing
- Completed within budget
Before starting, it’s helpful to understand the complete process. For an overview of materials, installation types, and more, check out:
👉 What You Need to Know About Countertop Installation: A Complete Guide
Step 1: Evaluate Your Current Countertops
Start by assessing what you currently have. Are your countertops damaged, outdated, or simply not functional? Evaluate:
- Surface cracks or burns
- Water damage or swelling
- Uneven areas or loose corners
- Unwanted color or finish
If your surface is too far gone for countertop repair or countertop resurfacing, it’s time to plan a full countertop replacement.
Step 2: Choose the Right Material for DIY
Certain materials are better suited for DIY installation than others. Consider the following:
| Material | DIY Difficulty | Notes |
|---|---|---|
| Laminate | Easy | Lightweight and easy to cut |
| Butcher Block | Moderate | Needs precise cuts and sealing |
| Quartz | Advanced | Requires specialized tools |
| Granite | Advanced | Heavy and brittle—difficult to handle |
| Solid Surface (e.g., Corian) | Moderate | Can be sanded and repaired |
If you’re new to DIY, start with laminate or butcher block before attempting granite countertop installation or quartz countertop installation.
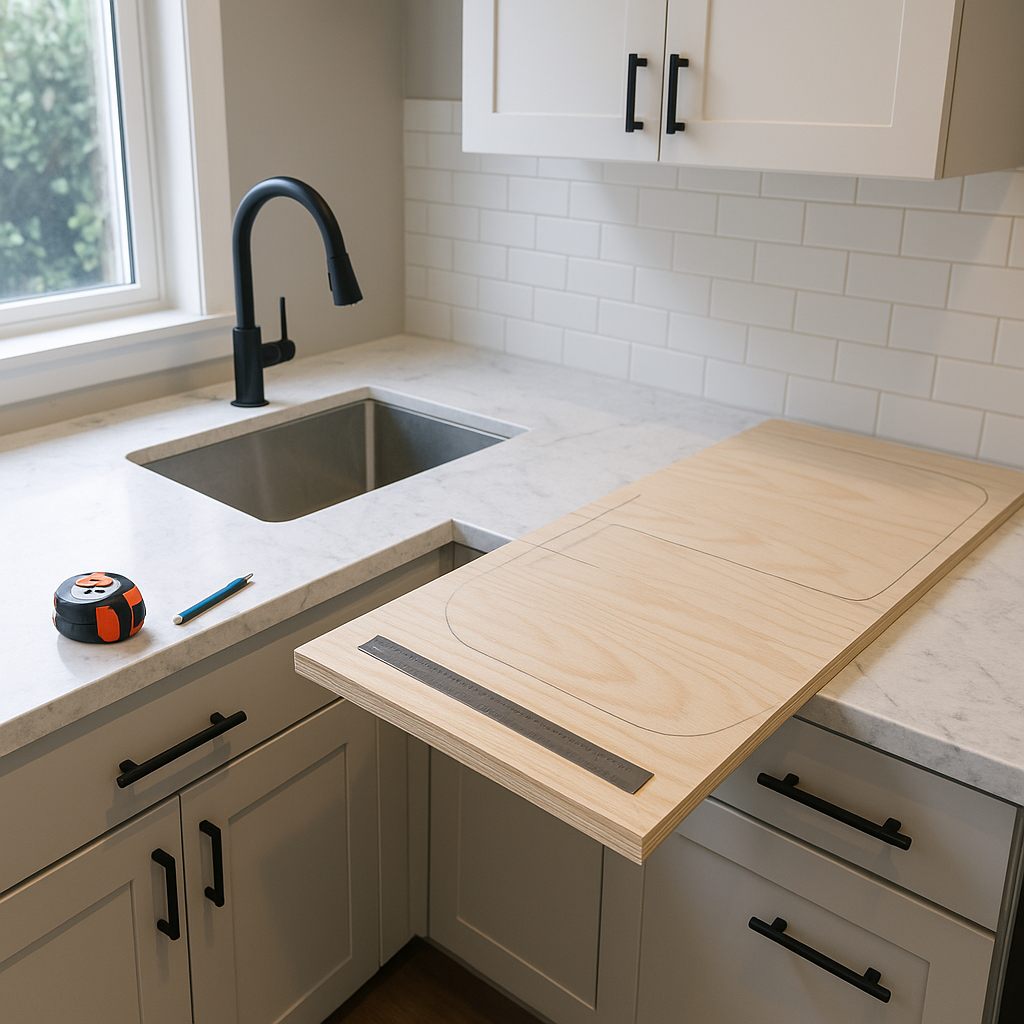
Step 3: Measure and Create a Templating Plan
Accurate measurements are everything. Use a tape measure and level to:
- Record countertop dimensions (length, width, depth)
- Note sink, cooktop, and faucet placements
- Sketch out your space for reference
- Create a plywood or cardboard template
Templates ensure that your cutouts and overhangs align properly during kitchen countertop fitting.
Step 4: Remove the Existing Countertops
Once measurements and materials are confirmed, you can begin demo work:
- Turn off plumbing and disconnect sink/faucet
- Remove backsplash or caulking
- Unscrew the old countertop from the cabinet base
- Carefully lift and discard the old material
Inspect the cabinet frame after removal to ensure it’s level and capable of supporting your new countertop.
Step 5: Prepare the Surface
For any countertop installation, the surface beneath must be:
- Clean and dry
- Flat and level
- Structurally reinforced, especially around sinks or overhangs
If needed, install plywood sub-tops to support heavier materials like granite or quartz.
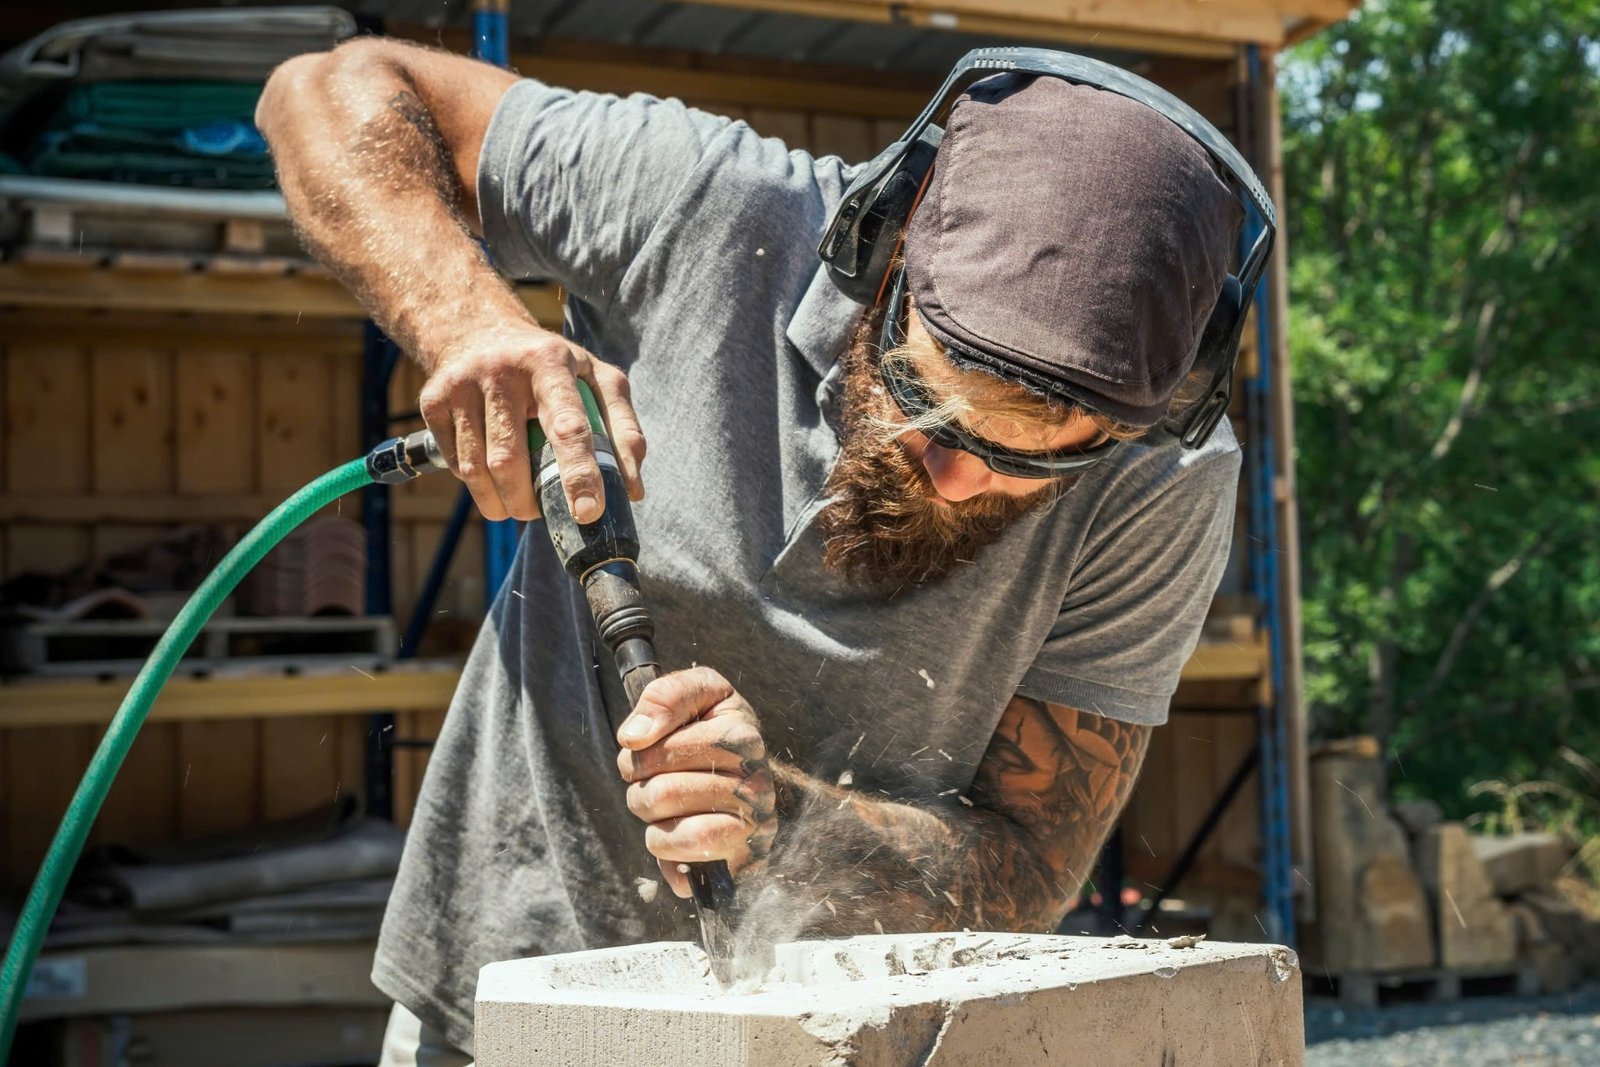
Step 6: Cut and Dry Fit the Countertops
Use your templates to make your cuts. Depending on your material, you may need:
- A circular saw (laminate/wood)
- A wet saw or diamond blade grinder (stone)
- A jigsaw (sink or cooktop cutouts)
After cutting, dry fit the countertop on the base cabinets before applying adhesive. This helps verify alignment and reveals any adjustments needed.
Step 7: Install the Countertops
Once satisfied with the fit:
- Apply construction adhesive or silicone to the top of the cabinets
- Carefully lower the countertop into position
- Use clamps (if needed) and apply steady pressure
- Check for levelness using a spirit or laser level
- Fill any seams with color-matched epoxy
Allow adhesives and caulk to cure according to the manufacturer’s recommendations before reinstalling the sink or plumbing.
Step 8: Seal, Finish, and Clean
If you’ve chosen natural stone like granite, it’s essential to apply a penetrating sealer to prevent moisture damage. For other surfaces:
- Wipe clean with a damp cloth
- Apply edge trims or backsplashes
- Inspect for gaps or misalignments
Your DIY project is now complete!
Tools You’ll Need to Begin
Depending on the material, gather the following tools before starting:
- Measuring tape and level
- Pencil and framing square
- Circular saw or wet saw
- Jigsaw and drill
- Clamps and sawhorses
- Caulking gun and adhesives
- Safety gear: goggles, gloves, dust mask
Need more detail? Prepare by reading:
👉 Why Choose DIY Countertop Installation Instead of Hiring a Professional?
Mistakes to Avoid When Starting
Many DIYers make avoidable mistakes right from the start. Steer clear of these:
- Skipping the dry-fit step
- Forgetting to check cabinet level
- Cutting too close to slab edges
- Not sealing porous stone materials
- Ignoring expansion gaps along walls
These can lead to cracks, warping, or the need for full countertop replacement soon after installation.
When to Seek Help
DIY is not for everyone—or every project. If you run into challenges, don’t hesitate to contact:
- Stone fabricators for cutting and polishing
- Professional installers for seam setting
- Local pros listed under countertop installation near me
Professionals can assist with or even finish the installation, especially for complex layouts or luxury materials.
Final Thoughts
A well-planned start is the most important part of a successful DIY countertop installation. From choosing the right materials and tools to creating a precise layout and preparing your workspace, getting the foundation right ensures everything else runs smoothly.
With a little research, the right gear, and a willingness to learn, even complex installations like granite countertops installed or quartz surfaces are possible for experienced DIYers. Just remember—start smart, measure twice, and seal well.