

Taking on a DIY countertop installation project is one of the most rewarding home improvements you can make
Taking on a DIY countertop installation project is one of the most rewarding home improvements you can make. Not only does it upgrade the functionality and aesthetics of your kitchen, but it can also significantly increase your home’s value—especially when done correctly.
But here’s the catch: timing matters. Choosing the right time of year, week, or even day can dramatically improve your chances of a smooth and successful kitchen countertop installation. From weather considerations and household schedules to material availability and cost factors, this guide will help you understand when to tackle your project—and how to do it right.
Why Timing Matters in Countertop Installation
A countertop installation project—particularly a DIY one—requires proper planning, focus, and flexibility. By timing it strategically, you can:
- Reduce material and labor costs
- Avoid delays from supplier backlogs
- Take advantage of optimal environmental conditions
- Ensure uninterrupted time to work on the project
- Prevent damage during high-use periods (like holidays)
Before jumping into your project, be sure to review:
👉 What You Need to Know About Countertop Installation: A Complete Guide
Best Seasons for DIY Countertop Installation
✅ Spring (March–May)
Why it’s ideal:
- Temperate weather supports material stability
- Fewer holidays mean fewer schedule interruptions
- Great time for spring-cleaning makeovers
Watch out for:
- High demand from other homeowners starting renovations
- Possible delays in granite countertop installation delivery due to peak season
✅ Fall (September–November)
Why it’s ideal:
- Cooler weather helps prevent adhesive issues
- Less humidity improves setting and curing times
- Great way to prep your kitchen before the holidays
Tip: Start early in fall to avoid seasonal supplier slowdowns.
⚠️ Summer (June–August)
Pros:
- More daylight hours to work on your project
- Vacation time allows extended project focus
Cons:
- High humidity may affect some adhesives and sealants
- Higher material demand can raise countertop installation cost
If you work indoors with climate control, summer can still be feasible.
⚠️ Winter (December–February)
Why to avoid it:
- Cold temperatures can affect material handling, especially for quartz countertop installation
- Holiday season adds stress and time constraints
- Supply chains slow down during this period
Only consider winter if your space is climate-controlled and you’re not hosting major gatherings.
Best Time of the Month or Week
- Start early in the month: Gives you flexibility in case the project takes longer.
- Avoid the last week of the month: Many contractors and suppliers are backlogged at this time.
- Weekend installations: Ideal for full-time workers. Plan a 2–3 day block for uninterrupted work.
- Midweek installs: Quieter supply stores and service centers if you need urgent help or tools.
Key Signs It’s Time to Replace Your Countertops
If you’re still deciding whether it’s the right moment to start, look for these indicators:
- Cracks or chips that require frequent countertop repair
- Outdated or damaged laminate
- Stains or burns that won’t clean
- Peeling or bubbling surfaces
- Water damage or swelling
All these signs suggest it’s time for a countertop replacement, making your DIY project both timely and necessary.
What to Prepare Before Starting
1. Materials and Tools
Ensure all materials—whether for granite, quartz, or laminate—are ordered and delivered in advance. Double-check your tools are in good shape and suited for cutting, sealing, and polishing.
2. Time Commitment
Plan at least 2–3 days of focused work. For first-timers, 4–5 days is more realistic.
3. Weather Considerations
If working in a garage or outdoor area, temperature and humidity can influence:
- Adhesive curing time
- Sealant bonding
- Stone integrity
4. Backup Plan
If anything goes wrong, know who can help. Explore local repair services and read:
👉 Who Can Help If Something Goes Wrong During Your DIY Countertop Installation?
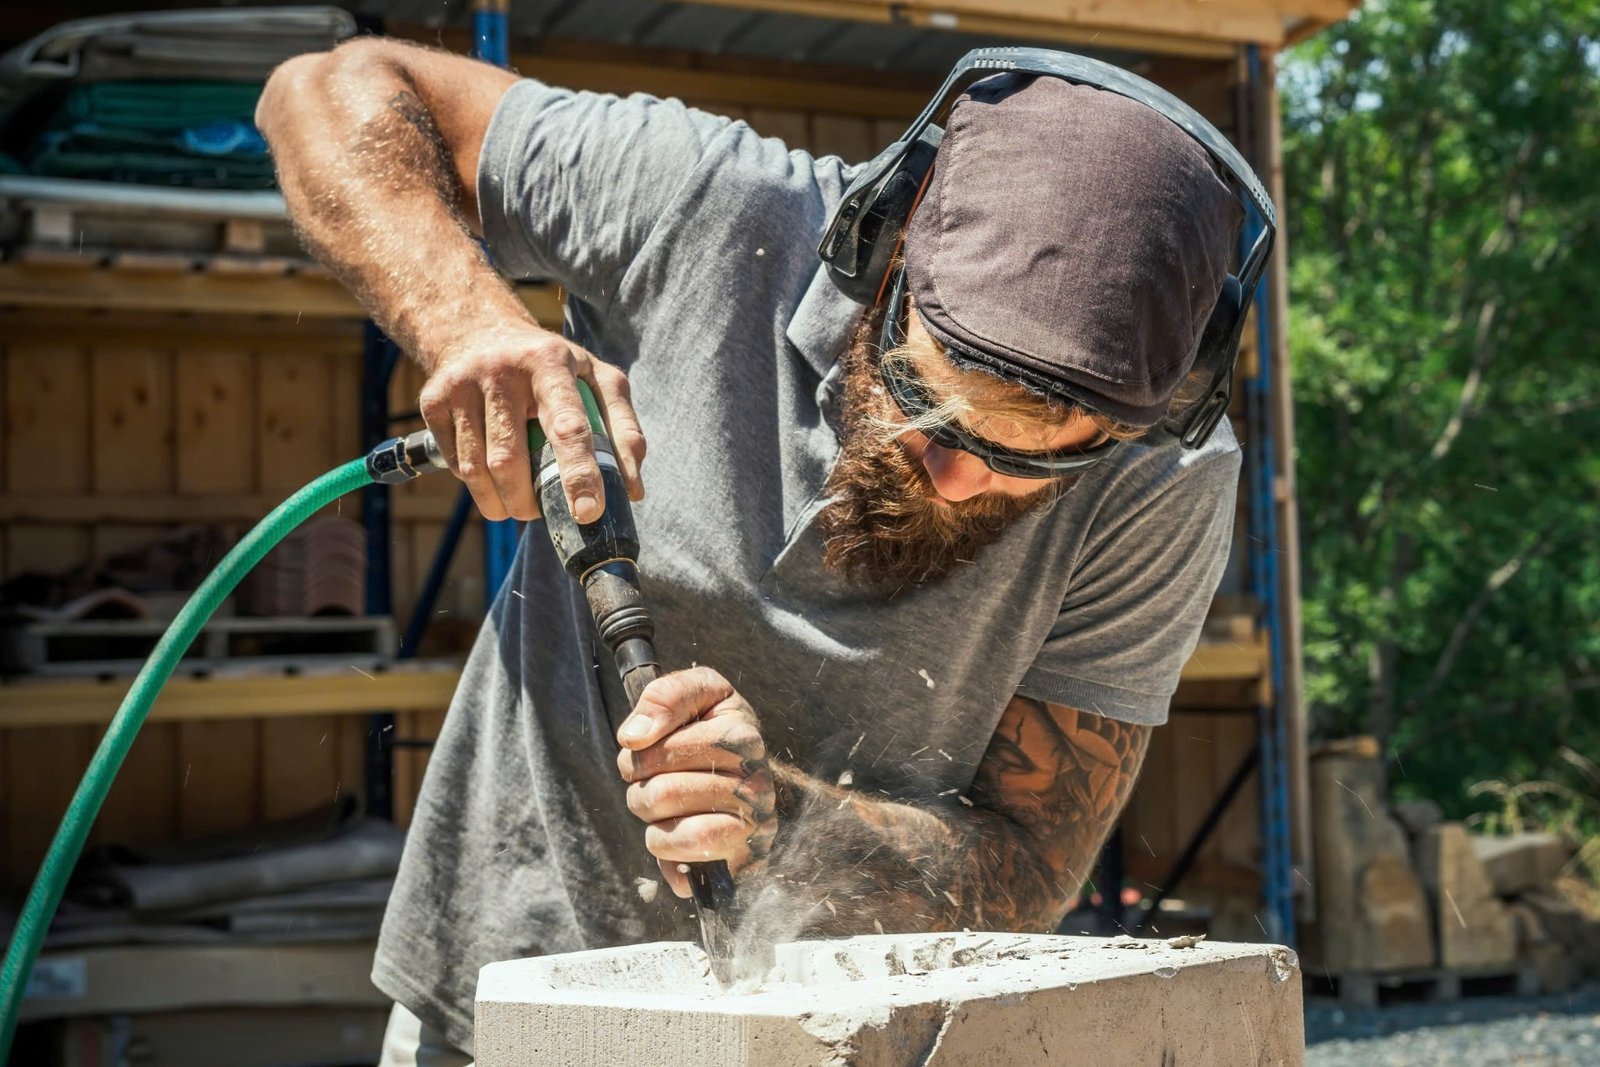
Ideal Countertop Materials for DIY Projects
| Material | Ease of DIY | Notes |
|---|---|---|
| Laminate | ✅ Easy | Great for beginners |
| Butcher block | ✅ Moderate | Requires sealing and precise cuts |
| Solid surface (Corian) | ✅ Moderate | Sandable and repairable |
| Granite | ⚠️ Advanced | Heavy, brittle—needs support |
| Quartz | ⚠️ Advanced | Requires special blades and polishers |
Cost-Saving Opportunities by Timing It Right
Starting your countertop installation at the right time can save you hundreds:
- Off-season material sales (late summer or late winter)
- Clearance inventory at big-box stores
- Tool rental discounts during non-peak days
Additionally, DIY installation already cuts out labor, saving $500–$2,000 on average, depending on kitchen size and material complexity.
Common Mistakes to Avoid When Starting a DIY Countertop Project
- Underestimating the time needed
- Ignoring weather effects on materials and tools
- Skipping cabinet leveling
- Rushing cutouts for sinks or cooktops
- Choosing the wrong sealant or adhesive
- Not leaving expansion gaps
Avoid these, and you’ll increase the chances of success and durability.
Final Checklist Before You Begin
✅ All tools prepared (saws, levels, polishers)
✅ Cabinet base leveled and secured
✅ Dry-fit slabs completed
✅ Backup plan and support in place
✅ Material sealed (if natural stone)
✅ Installation space cleared and clean
Final Thoughts
The best time to begin your DIY countertop installation project is when your schedule, environment, and preparation align. Spring and fall offer the most favorable conditions, but with proper planning, you can achieve professional-grade results at any time of year.
If you’re ready to embrace the DIY route, make sure you’re equipped with the knowledge and confidence to see it through. Start by reviewing:
👉 Why Choose DIY Countertop Installation Instead of Hiring a Professional?
With the right timing and tools, your new countertop can be a stunning and lasting upgrade to your kitchen.